


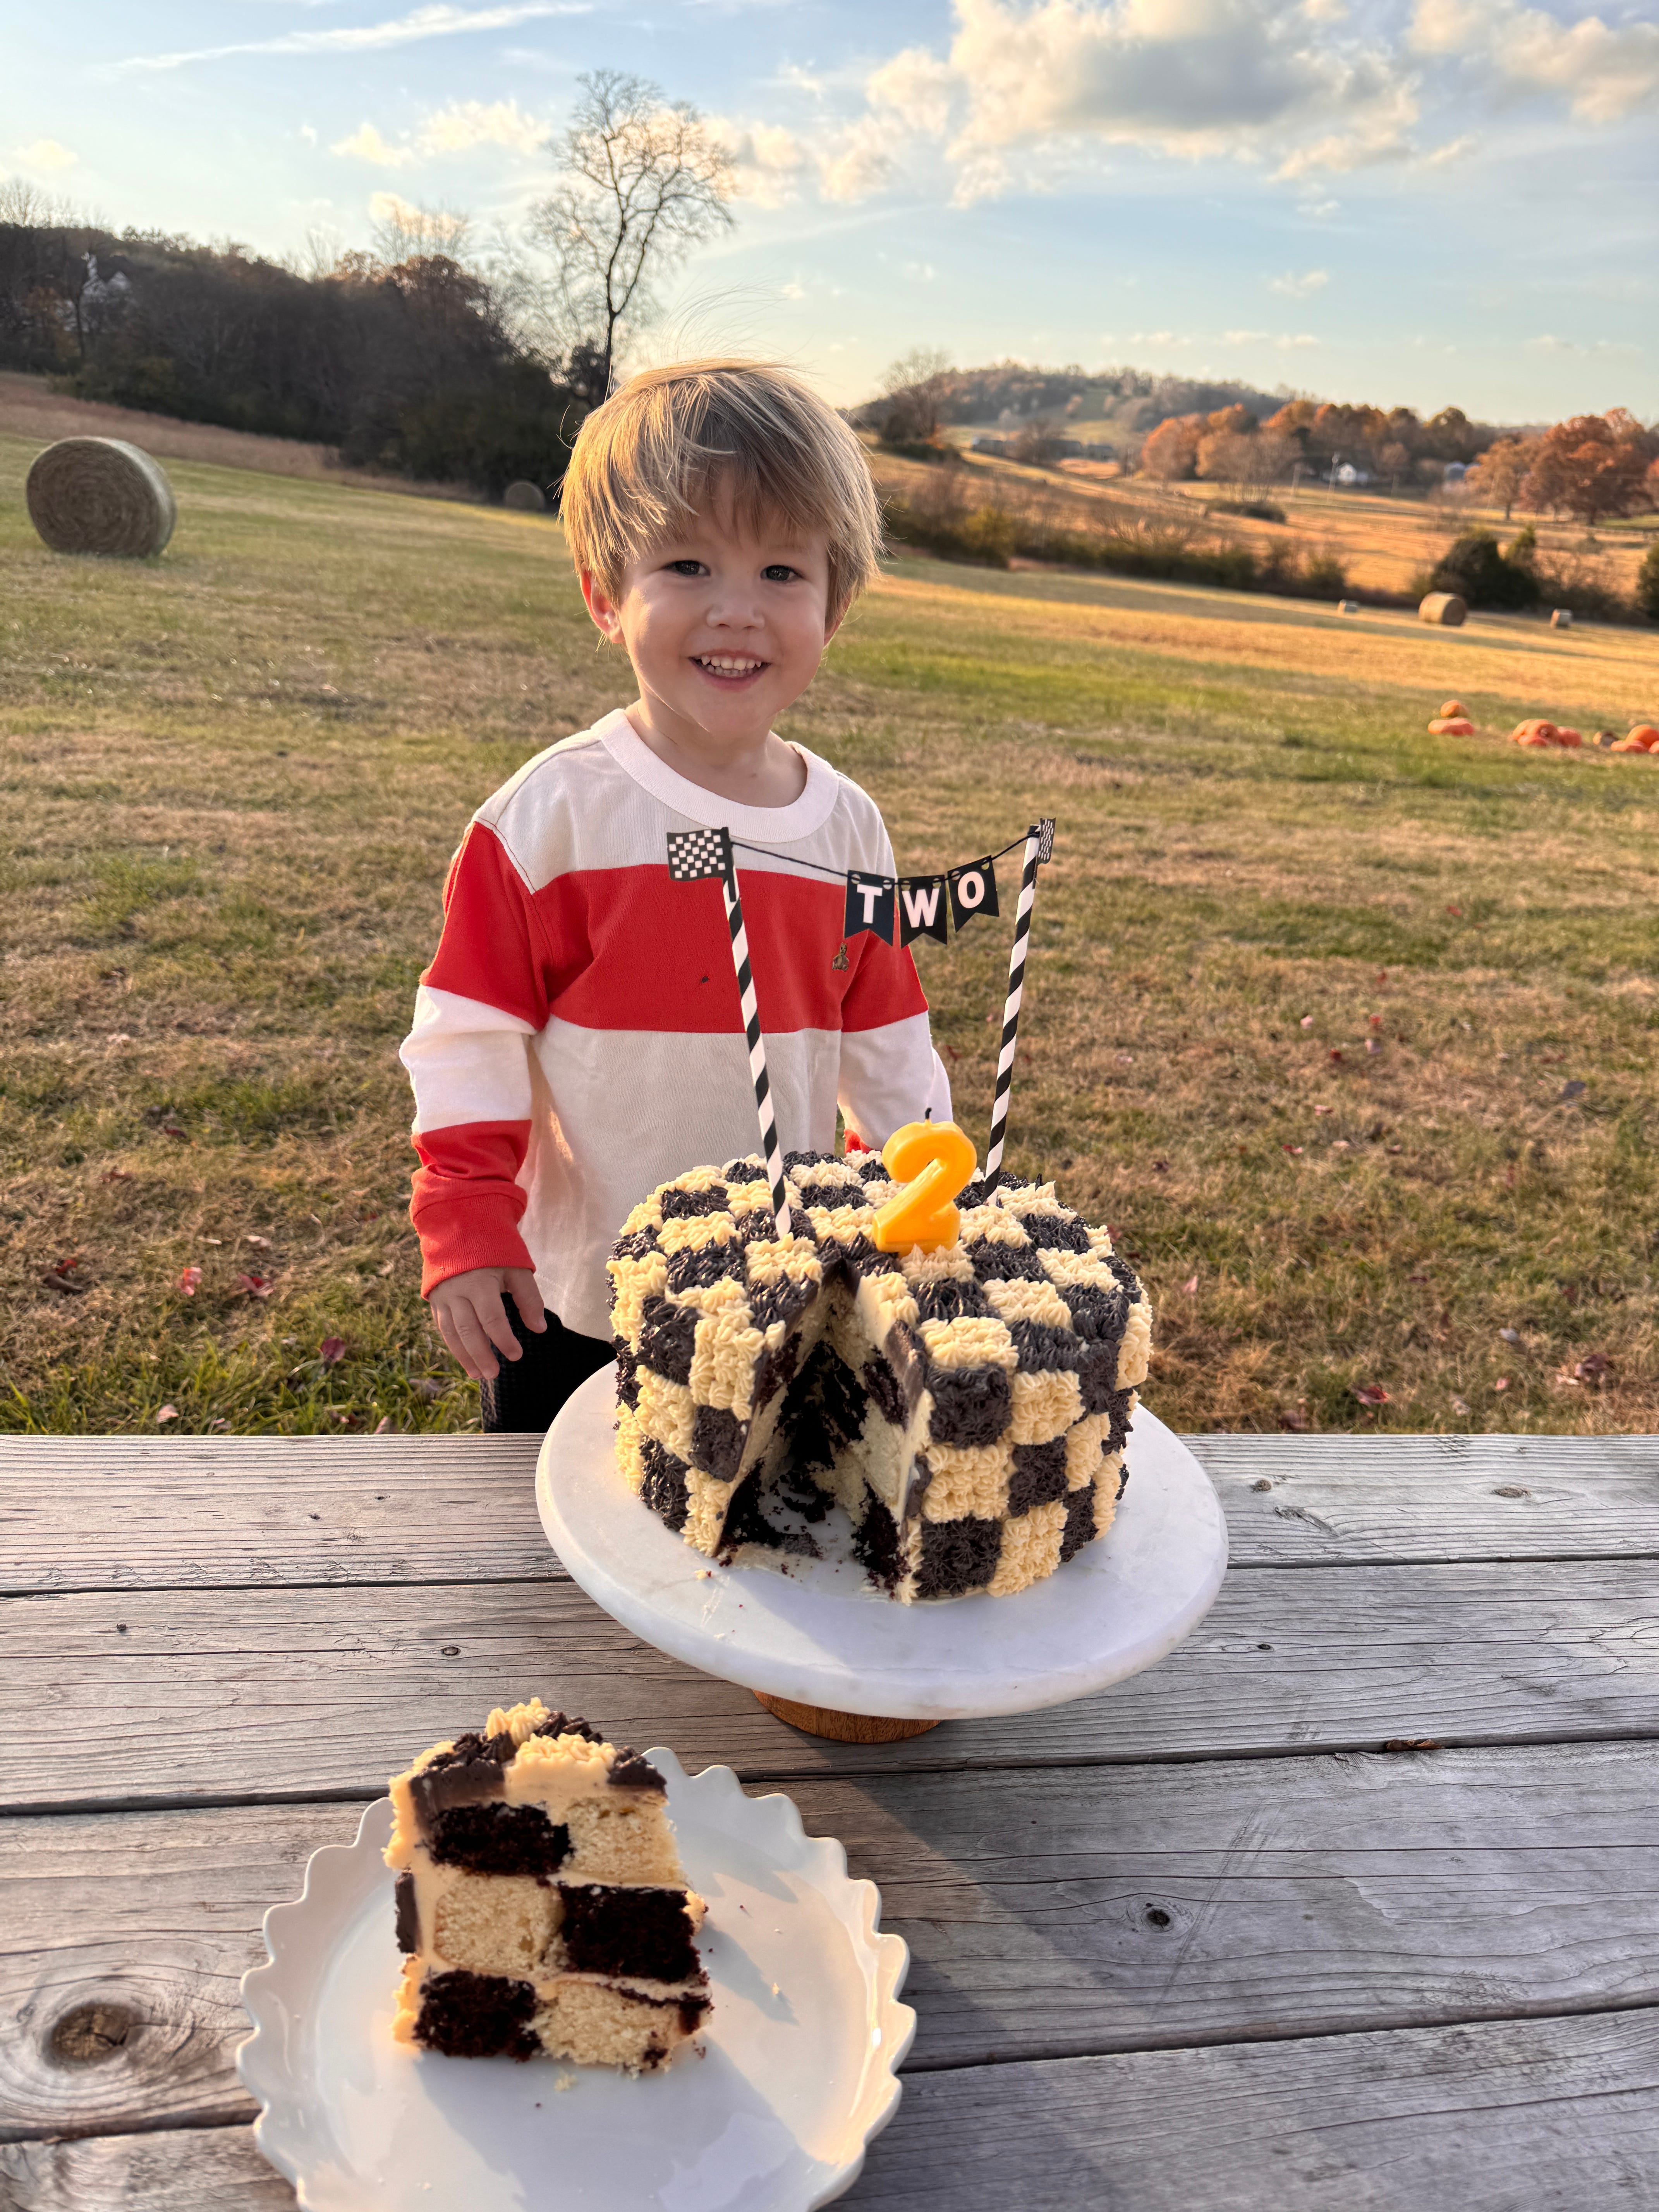
I wanted to make a race-car themed cake for my son’s 2nd birthday (more about his birthday and how we celebrated in my Personal November Update). He’s very into anything with wheels right now, so I needed something simple enough to manage during a busy week but still polished once it was sliced. I spread it out over a couple of days, baking the cakes two days before and frosting the day before. This checkerboard cake ended up being perfect, with the checkered pattern inside and out. When you cut into it, each slice shows alternating rings of chocolate and vanilla, and it turned out so great! I also love making homemade cakes because I know exactly what’s going into them and can use all organic ingredients.
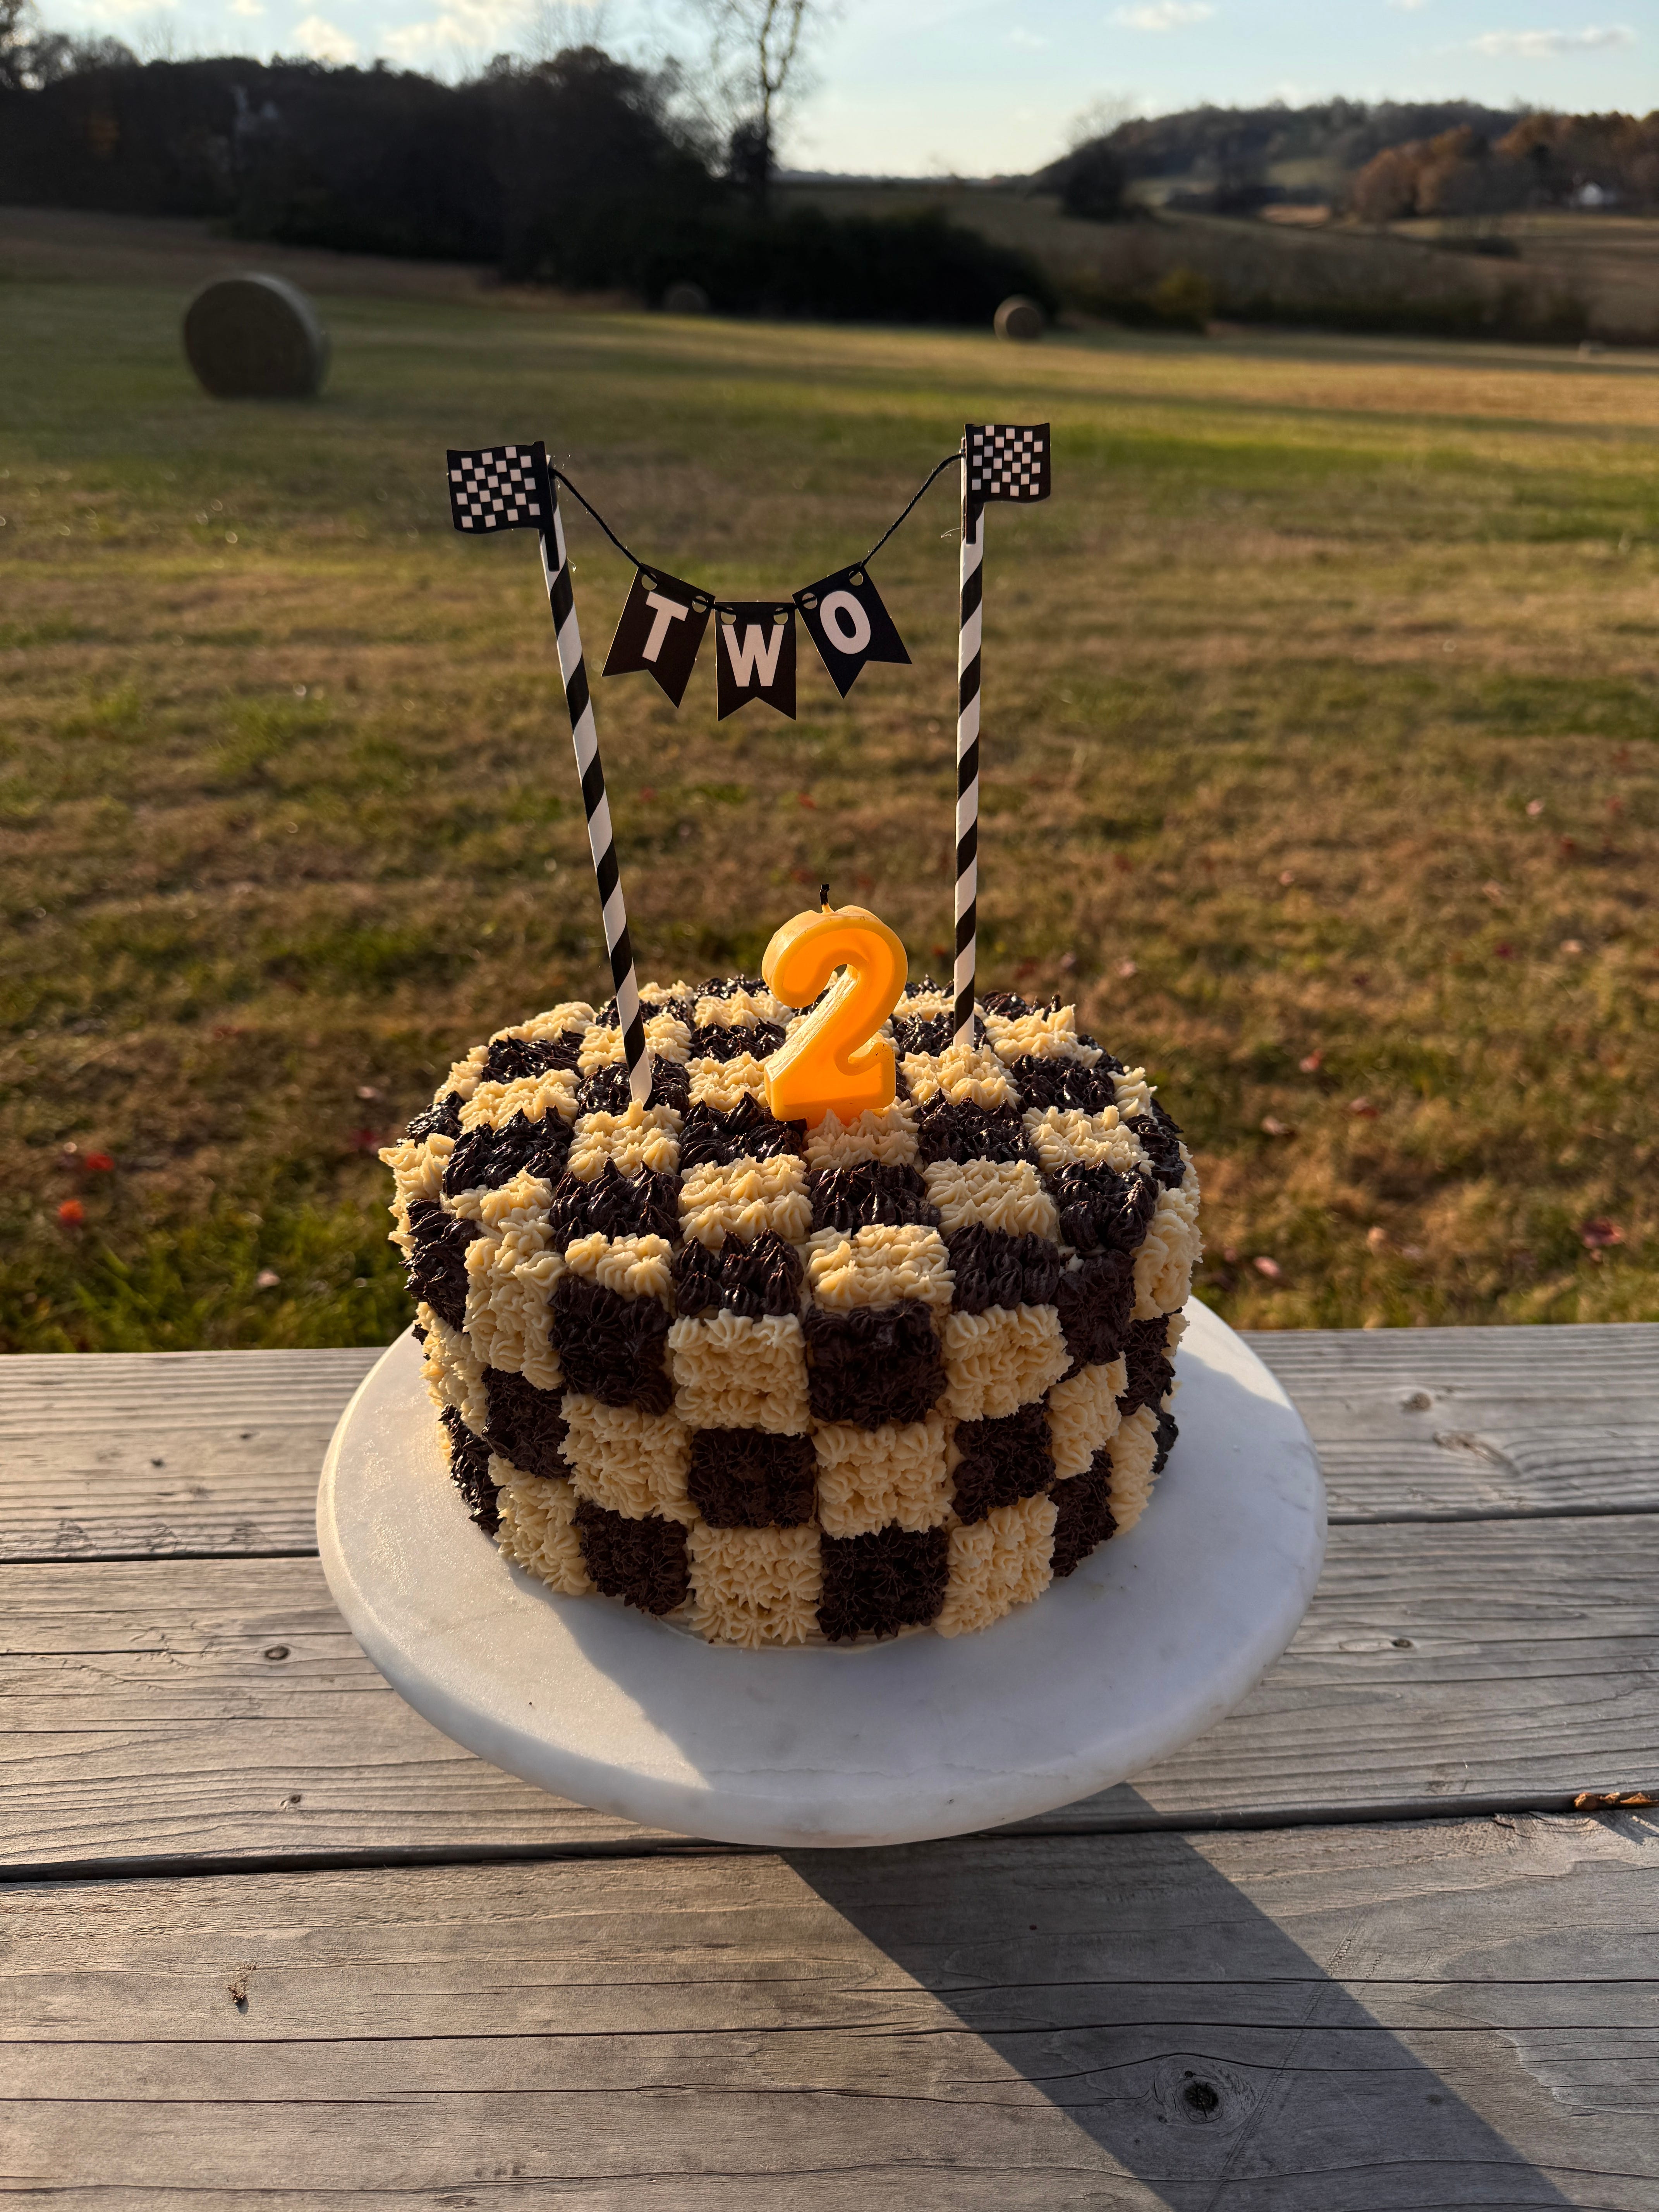
You can also switch the colors for any holiday or theme. Red and blue for the Fourth of July, red and green for Christmas, pink and white for a shower. I used a checkerboard cake stencil for Elliott’s cake because it speeds everything up, but I’m including how to make it both ways.
Here’s the video of me making it HERE.
Equipment
• Three 9 inch round cake pans (I got my checkerboard set at a local baking supply, but here’s a similar one)
• Parchment paper circles (the ones I used)
• Baking spray
• Stand mixer or hand mixer
• Large bowl and medium bowl
• Wire cooling rack
• Cake leveler
• 6 inch round cutter (or paper template and knife)
• 3 inch round cutter (or you could use this set)
• Offset spatula
• Piping bags
• Cake stand
Ingredients
Chocolate Cake
2 cups all purpose flour
2 cups organic cane sugar
3/4 cup unsweetened cocoa powder
2 teaspoons baking soda
1 teaspoon baking powder
1 teaspoon salt
1 cup buttermilk
1/2 cup pure avocado oil
2 large eggs
2 teaspoons vanilla extract
1 cup boiling water
Yellow Cake
2 3/4 cups all purpose flour
2 teaspoons baking powder
1/2 teaspoon baking soda
1 teaspoon salt
2 cups organic cane sugar
1/2 cup salted butter, softened
1/2 cup pure avocado oil
6 egg whites (from 6 eggs)
1 tablespoon vanilla extract
1 cup whole milk
1/2 cup sour cream
Frosting
Vanilla Frosting
Used for the crumb coat and the thin layer between each cake layer. This version includes the vanilla extract, but since it gives the frosting a slightly tan tint, I only use it on the inside of the cake. I kept both the crumb coat and the filling very light, and you can even skip the frosting between layers if you prefer. Depending on how much you use, you may need to make a little extra of this frosting:
Ingredients:
2 sticks salted butter, room temperature
3 cups powdered sugar
2 teaspoons vanilla extract
2 teaspoons milk
Instructions:
Beat butter until creamy.
Add powdered sugar slowly.
Add vanilla extract.
Add milk until smooth and spreadable.
White Frosting (checkered squares on outside)
Used for all the white squares on the outside
Ingredients:
1/2 cup salted butter (1 stick), room temperature
1 1/2 cups powdered sugar
Instructions:
Beat butter until smooth.
Add powdered sugar gradually.
Add a little milk if needed.
Leaving out the vanilla keeps it bright white.
Black Frosting
Used for the black checkerboard squares
Ingredients:
1/2 cup (1 stick) salted butter
1 1/2 powdered sugar
1 teaspoon milk
Natural black dye (this one)
Instructions:
Make the white frosting base.
Add the dye slowly until you reach a deep black.
Mix well so the color is even.
Instructions
Step 1: Prep
Preheat oven to 350 F.
Line your pans with parchment and spray the sides well.
Make the Cakes
Chocolate Cake
Whisk flour, sugar, cocoa, baking soda, baking powder, and salt.
Add buttermilk, oil, eggs, and vanilla. Mix until smooth.
Add boiling water and mix slowly. The batter will be thin.
Pour into pans and bake 30 to 35 minutes.
Cool 10 minutes in the pan, then move to a rack.
Vanilla Cake
Whisk flour, baking powder, baking soda, and salt.
In the mixer beat sugar, butter, and oil for 2 minutes.
Add egg whites one at a time. Add vanilla.
Add half the dry ingredients.
Add milk and sour cream.
Add the rest of the dry ingredients.
Bake 24 to 28 minutes.
Cool 10 minutes, then move to a rack.
Assemble the Checkerboard
Option 1: Using a checkerboard stencil
Place the stencil in the pan
Fill the sections with chocolate and vanilla
Bake as normal
This creates the pattern without cutting
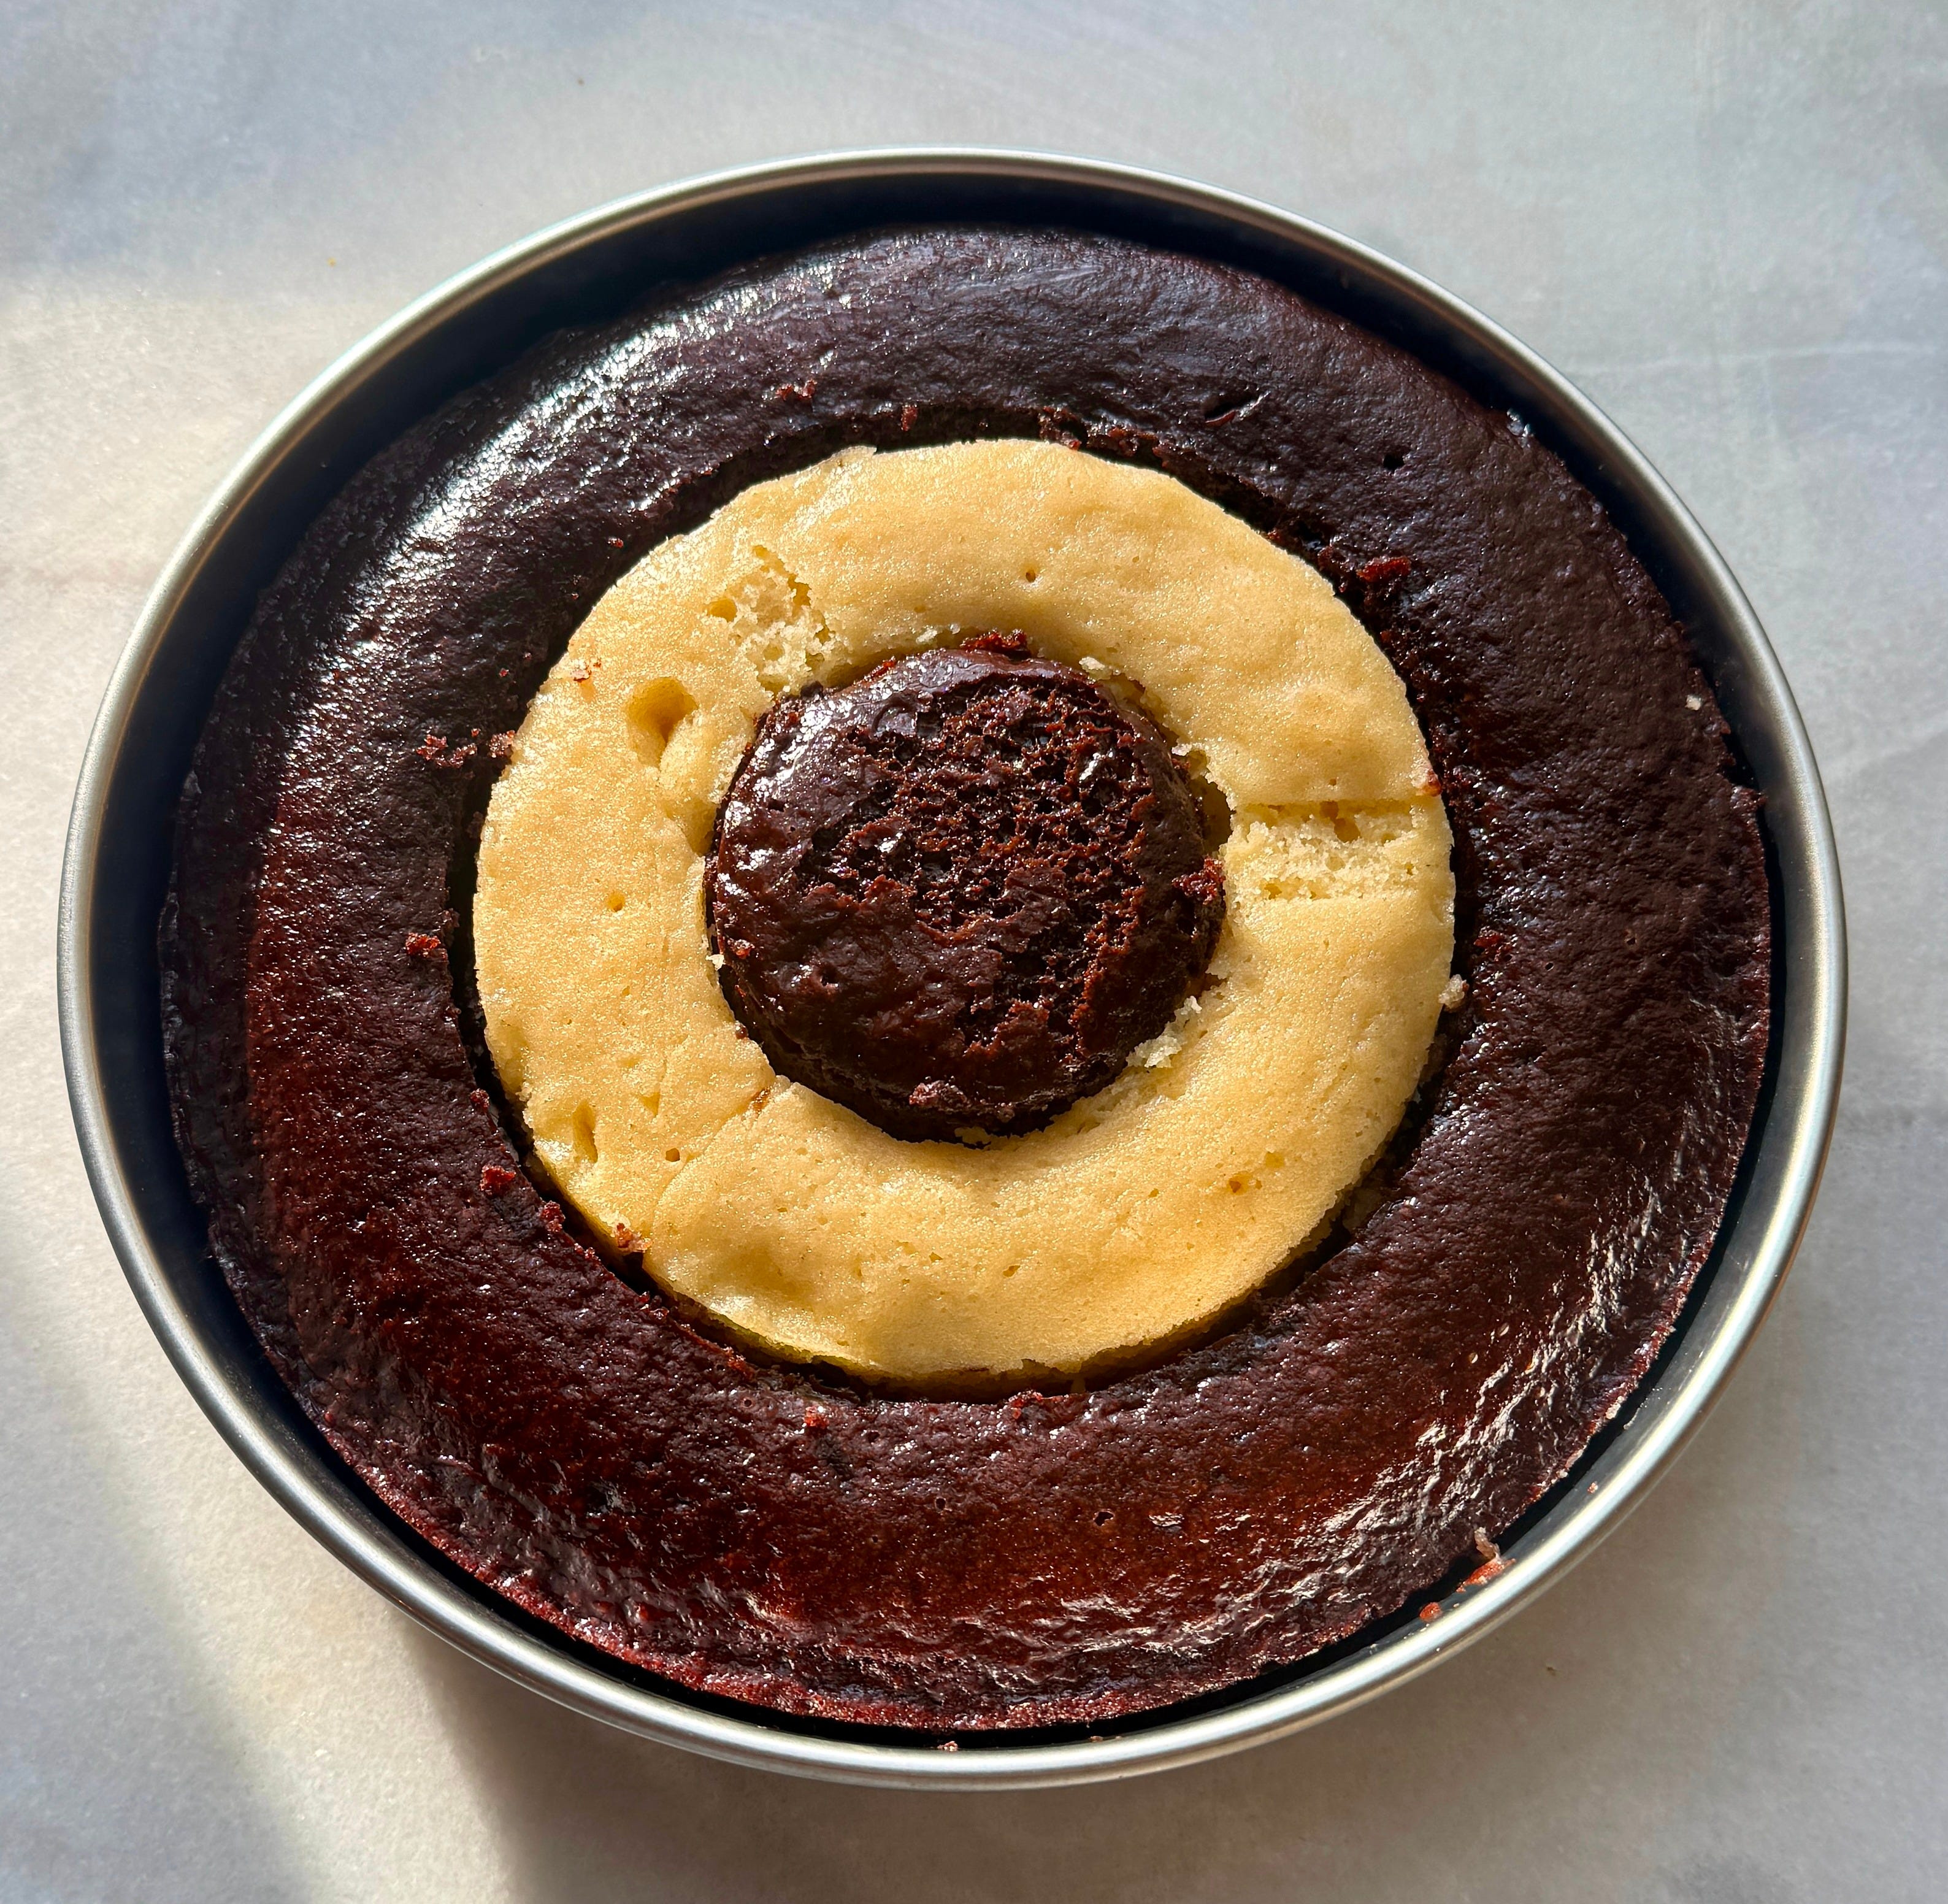
Option 2: Cutting the rings by hand
Make sure cakes are fully cool
Level the tops
Cut a 6 inch circle from each cake
Cut a 3 inch circle inside that
You now have three rings per cake
Swap middle rings so each layer alternates chocolate and vanilla
Place the first layer down and frost the top
Add the next layer, alternating ring colors
Repeat with the third layer
Here’s a visual from the back of my checkerboard cake set, to give a better idea of how each layer will look:
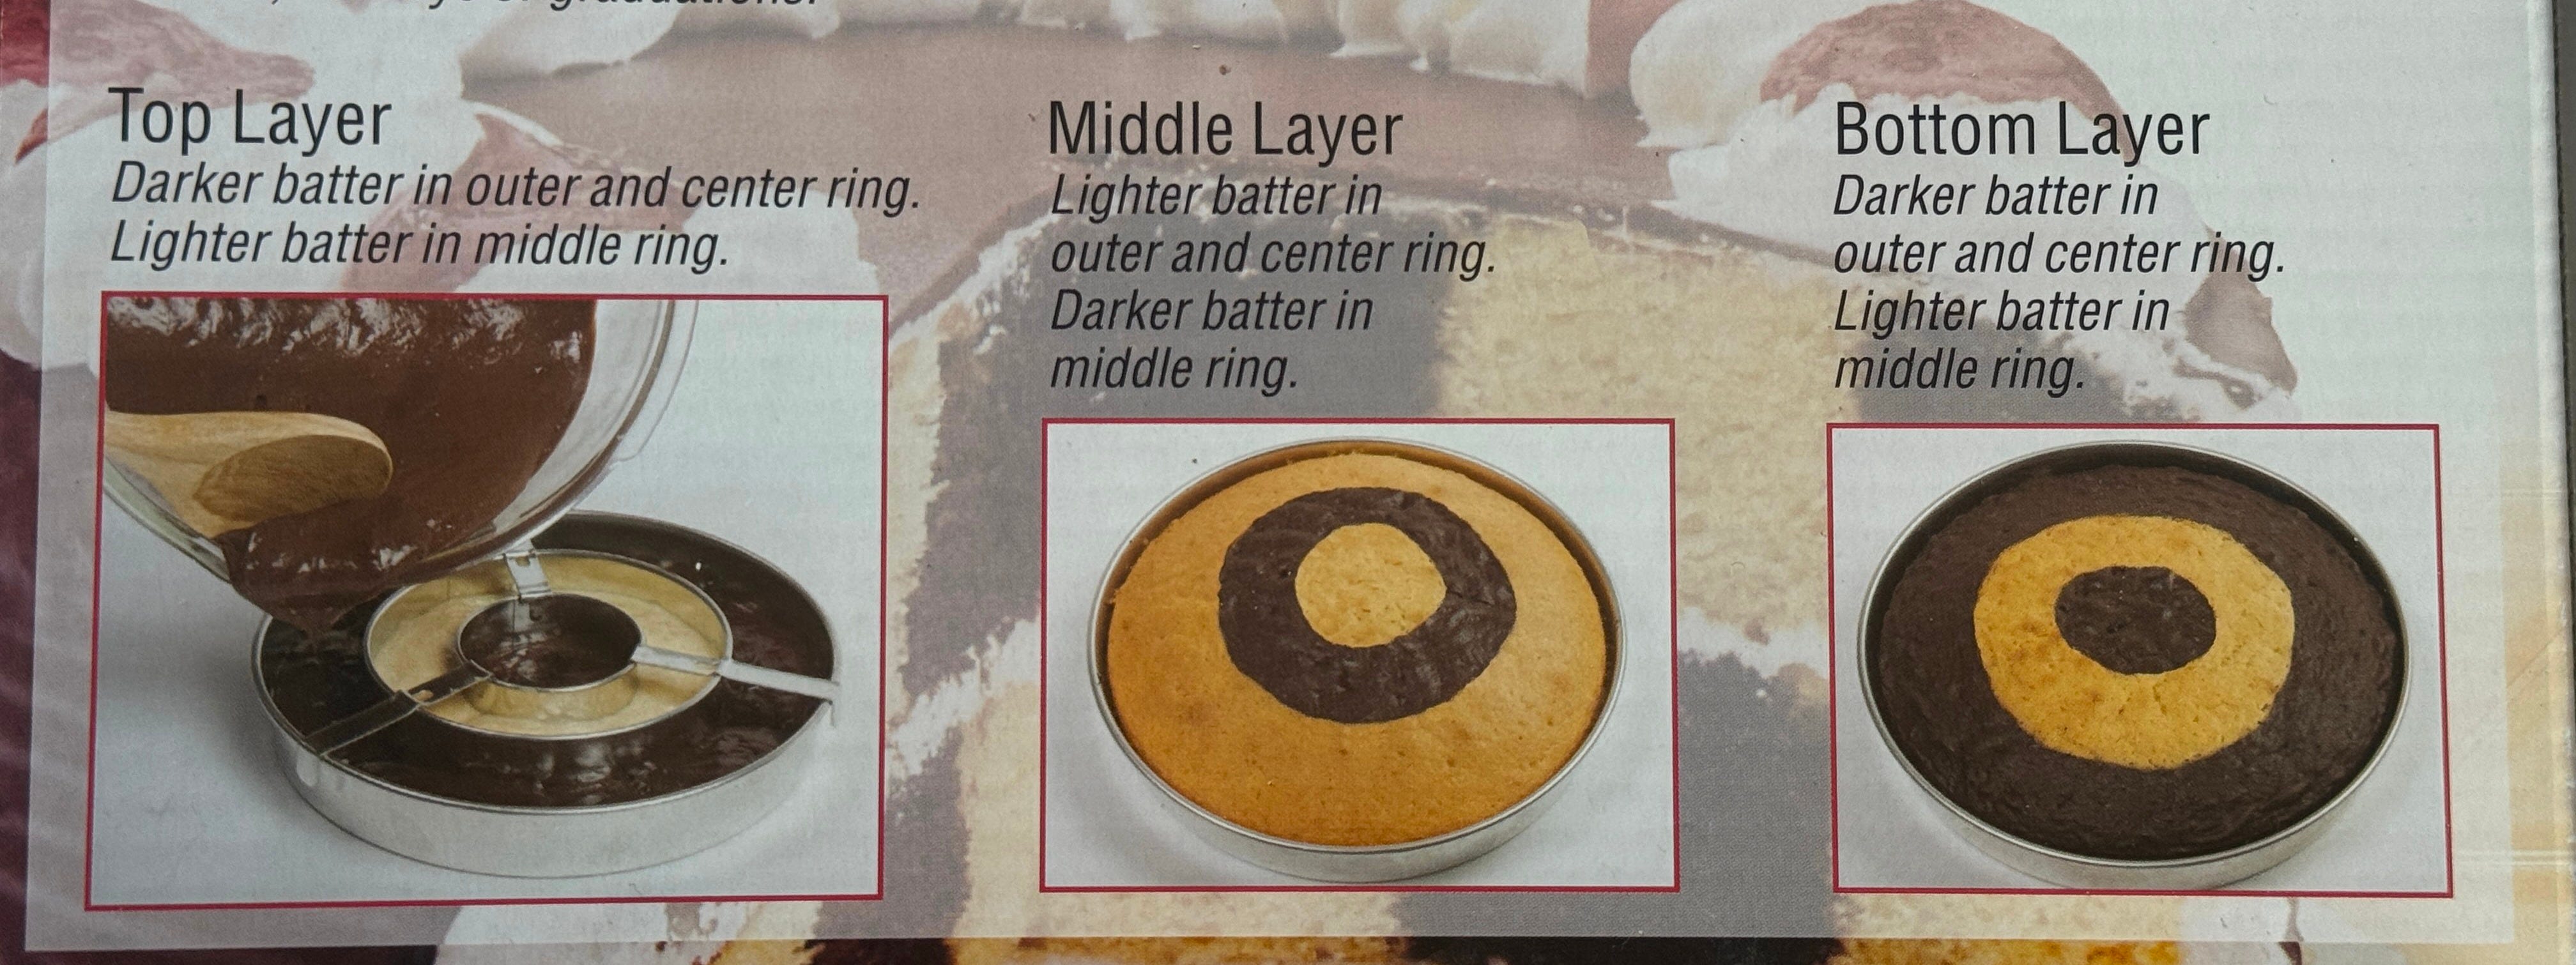
So make sure when you layer the cake on the cake stand you have the bottom ring in place (dark outer ring), followed by middle then the top. Otherwise the pattern will be off when you slice it.
Frost the Cake
Spread a thin layer of vanilla frosting over the entire cake for the crumb coat.
Place the cake in the refrigerator for 20 minutes to let the frosting firm up.
Use a square cookie cutter to gently press guides around the cake.
Start by marking squares around the bottom edge of the cake.
Then mark the squares across the top of the cake.
Fill piping bags with the white and black frostings.
Pipe the squares following the guides you made.
Store the finished cake in the refrigerator if serving the next day.
I finished the cake with a pair of cute racing flags on top and added a little beeswax candle for him to blow out. It tied the whole race-car theme together and looked so sweet in photos.
Full Grocery Shopping List
Pantry
• All purpose flour
• Granulated sugar
• Cocoa powder
• Powdered sugar
• Baking soda
• Baking powder
• Salt
• Pure avocado oil
Dairy
• 6 sticks salted butter
• Buttermilk
• Whole milk
• Sour cream
• 8 eggs total (2 whole eggs and 6 eggs for the egg whites)
Other:
• Vanilla extract
• Natural black food dye
• Parchment paper
• Baking spray