


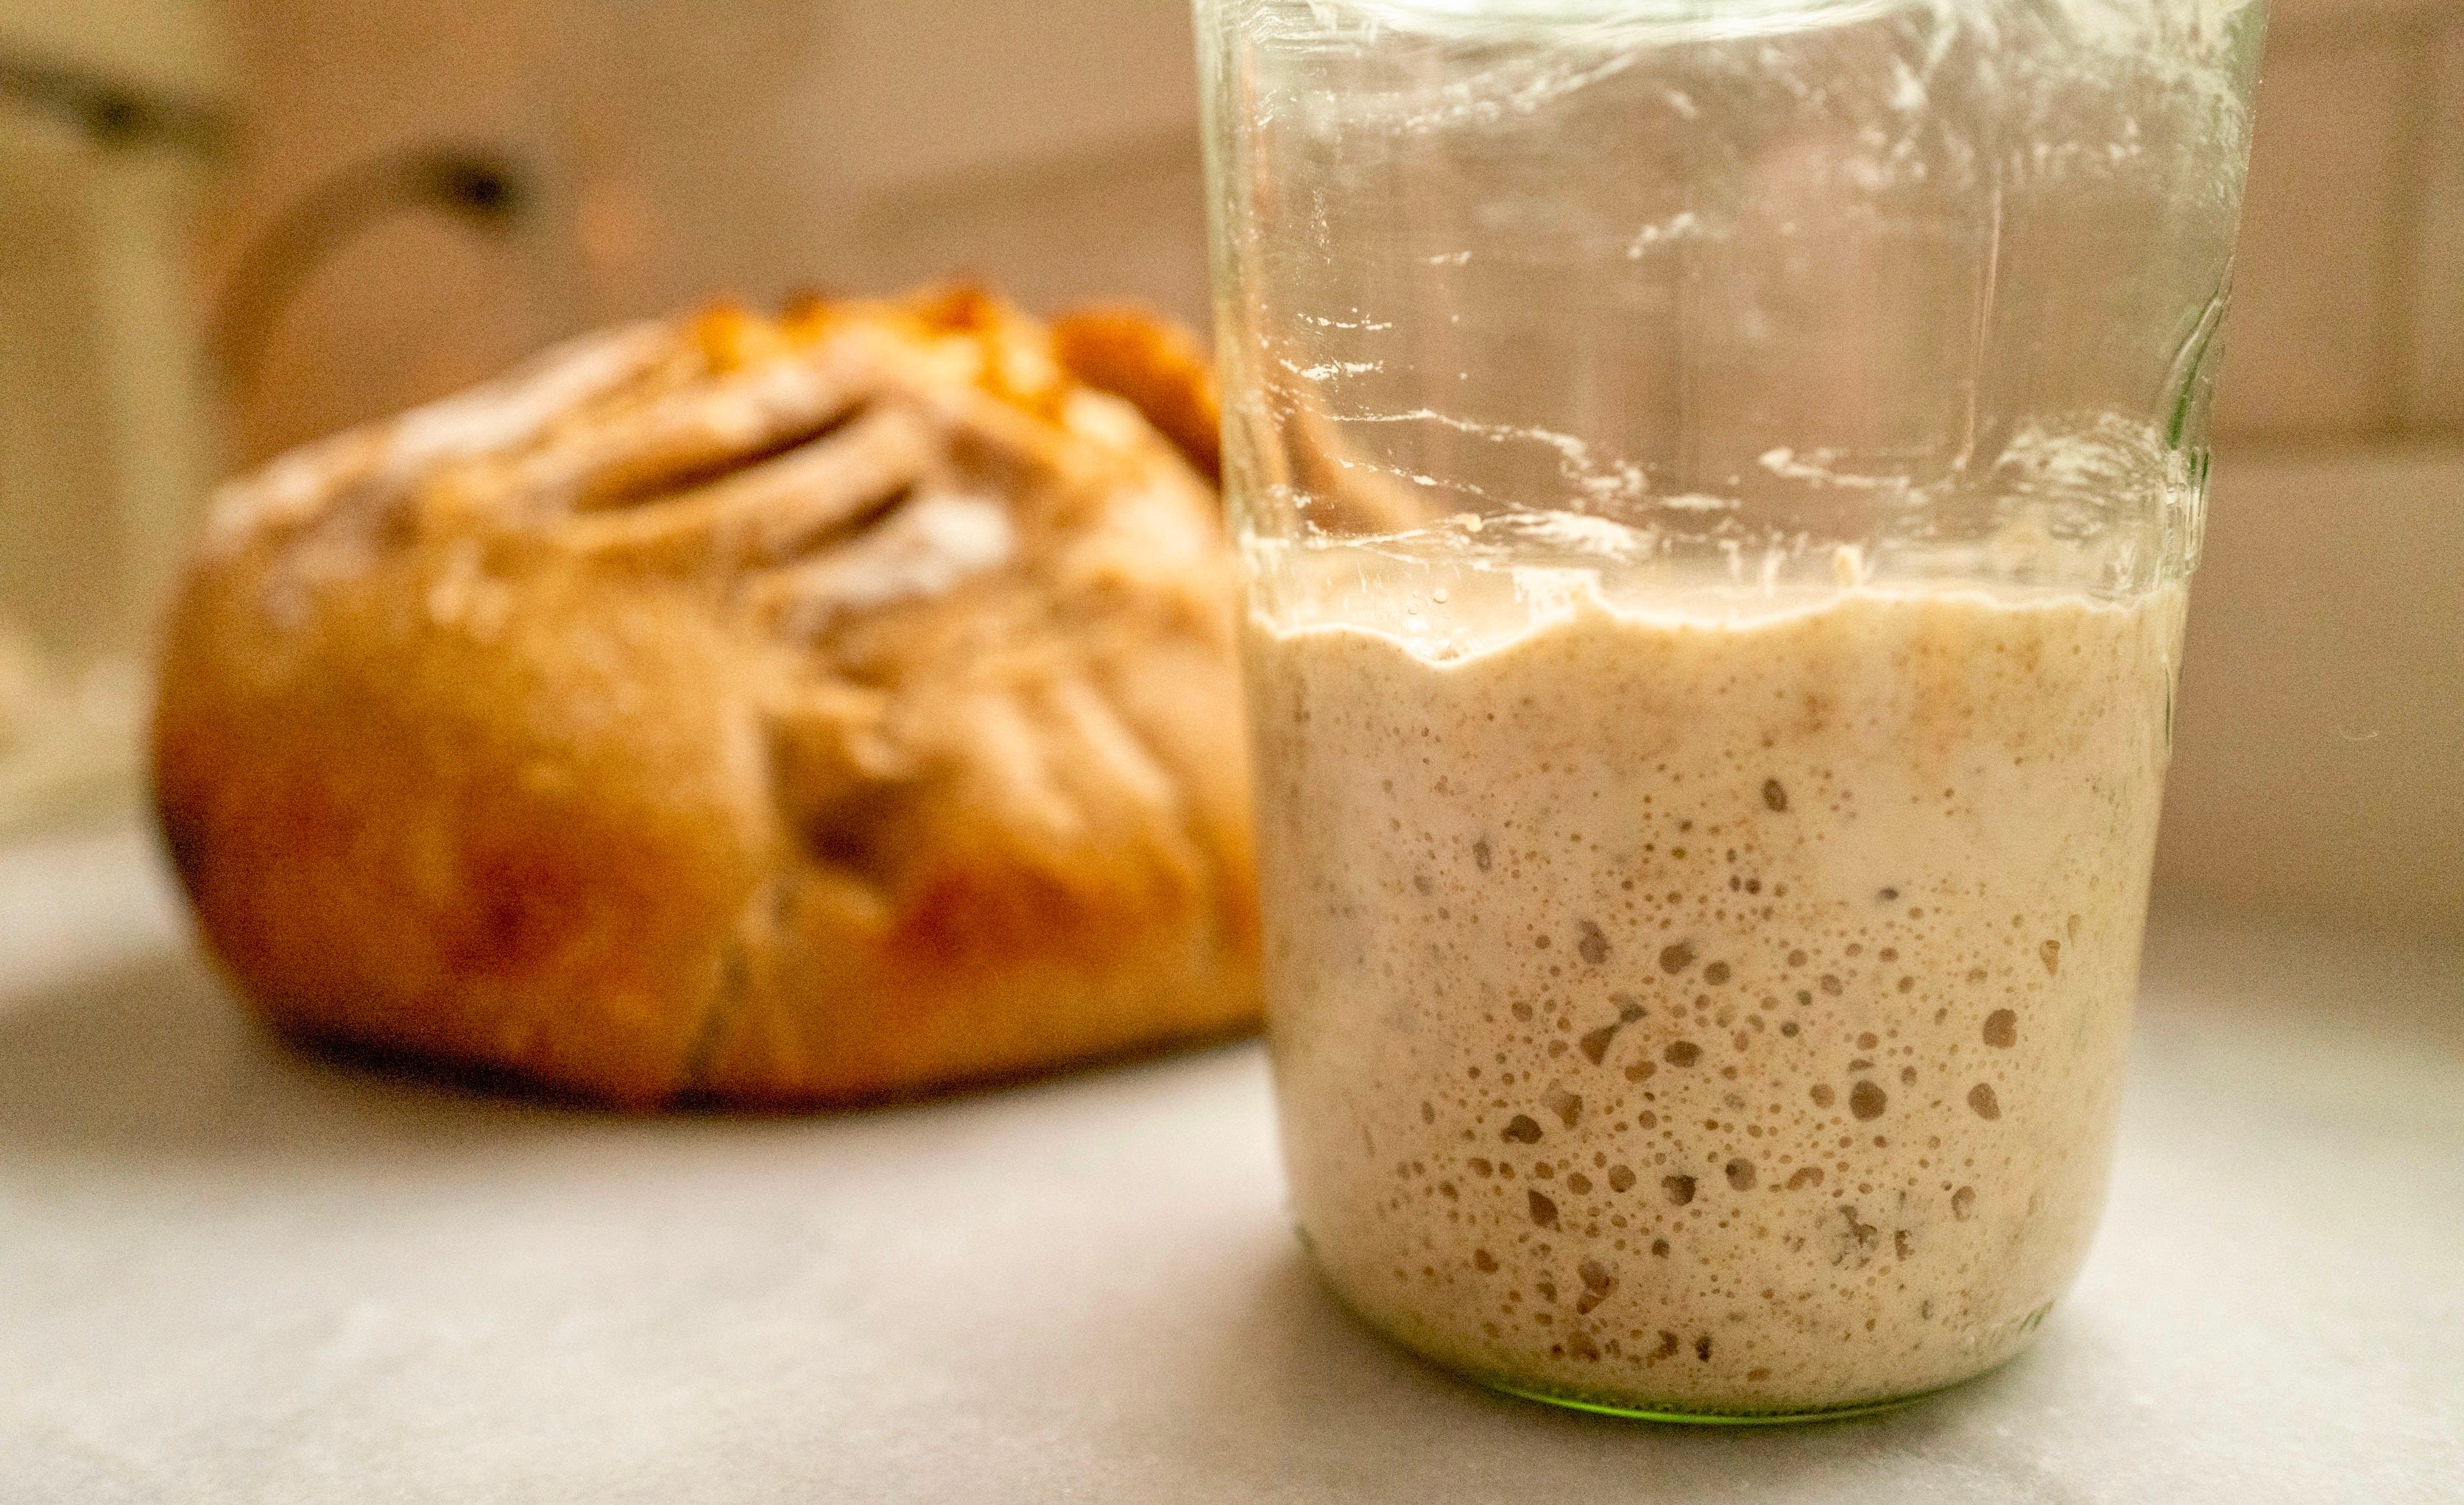
Almost years ago, I signed up for a sourdough class because it seemed too overwhelming to try to figure out on my own. I was a bit confused on the starter portion of the whole process. I had been following Ballerina Farm for a while and she was selling sourdough starter kits on her site, so I ordered the set.
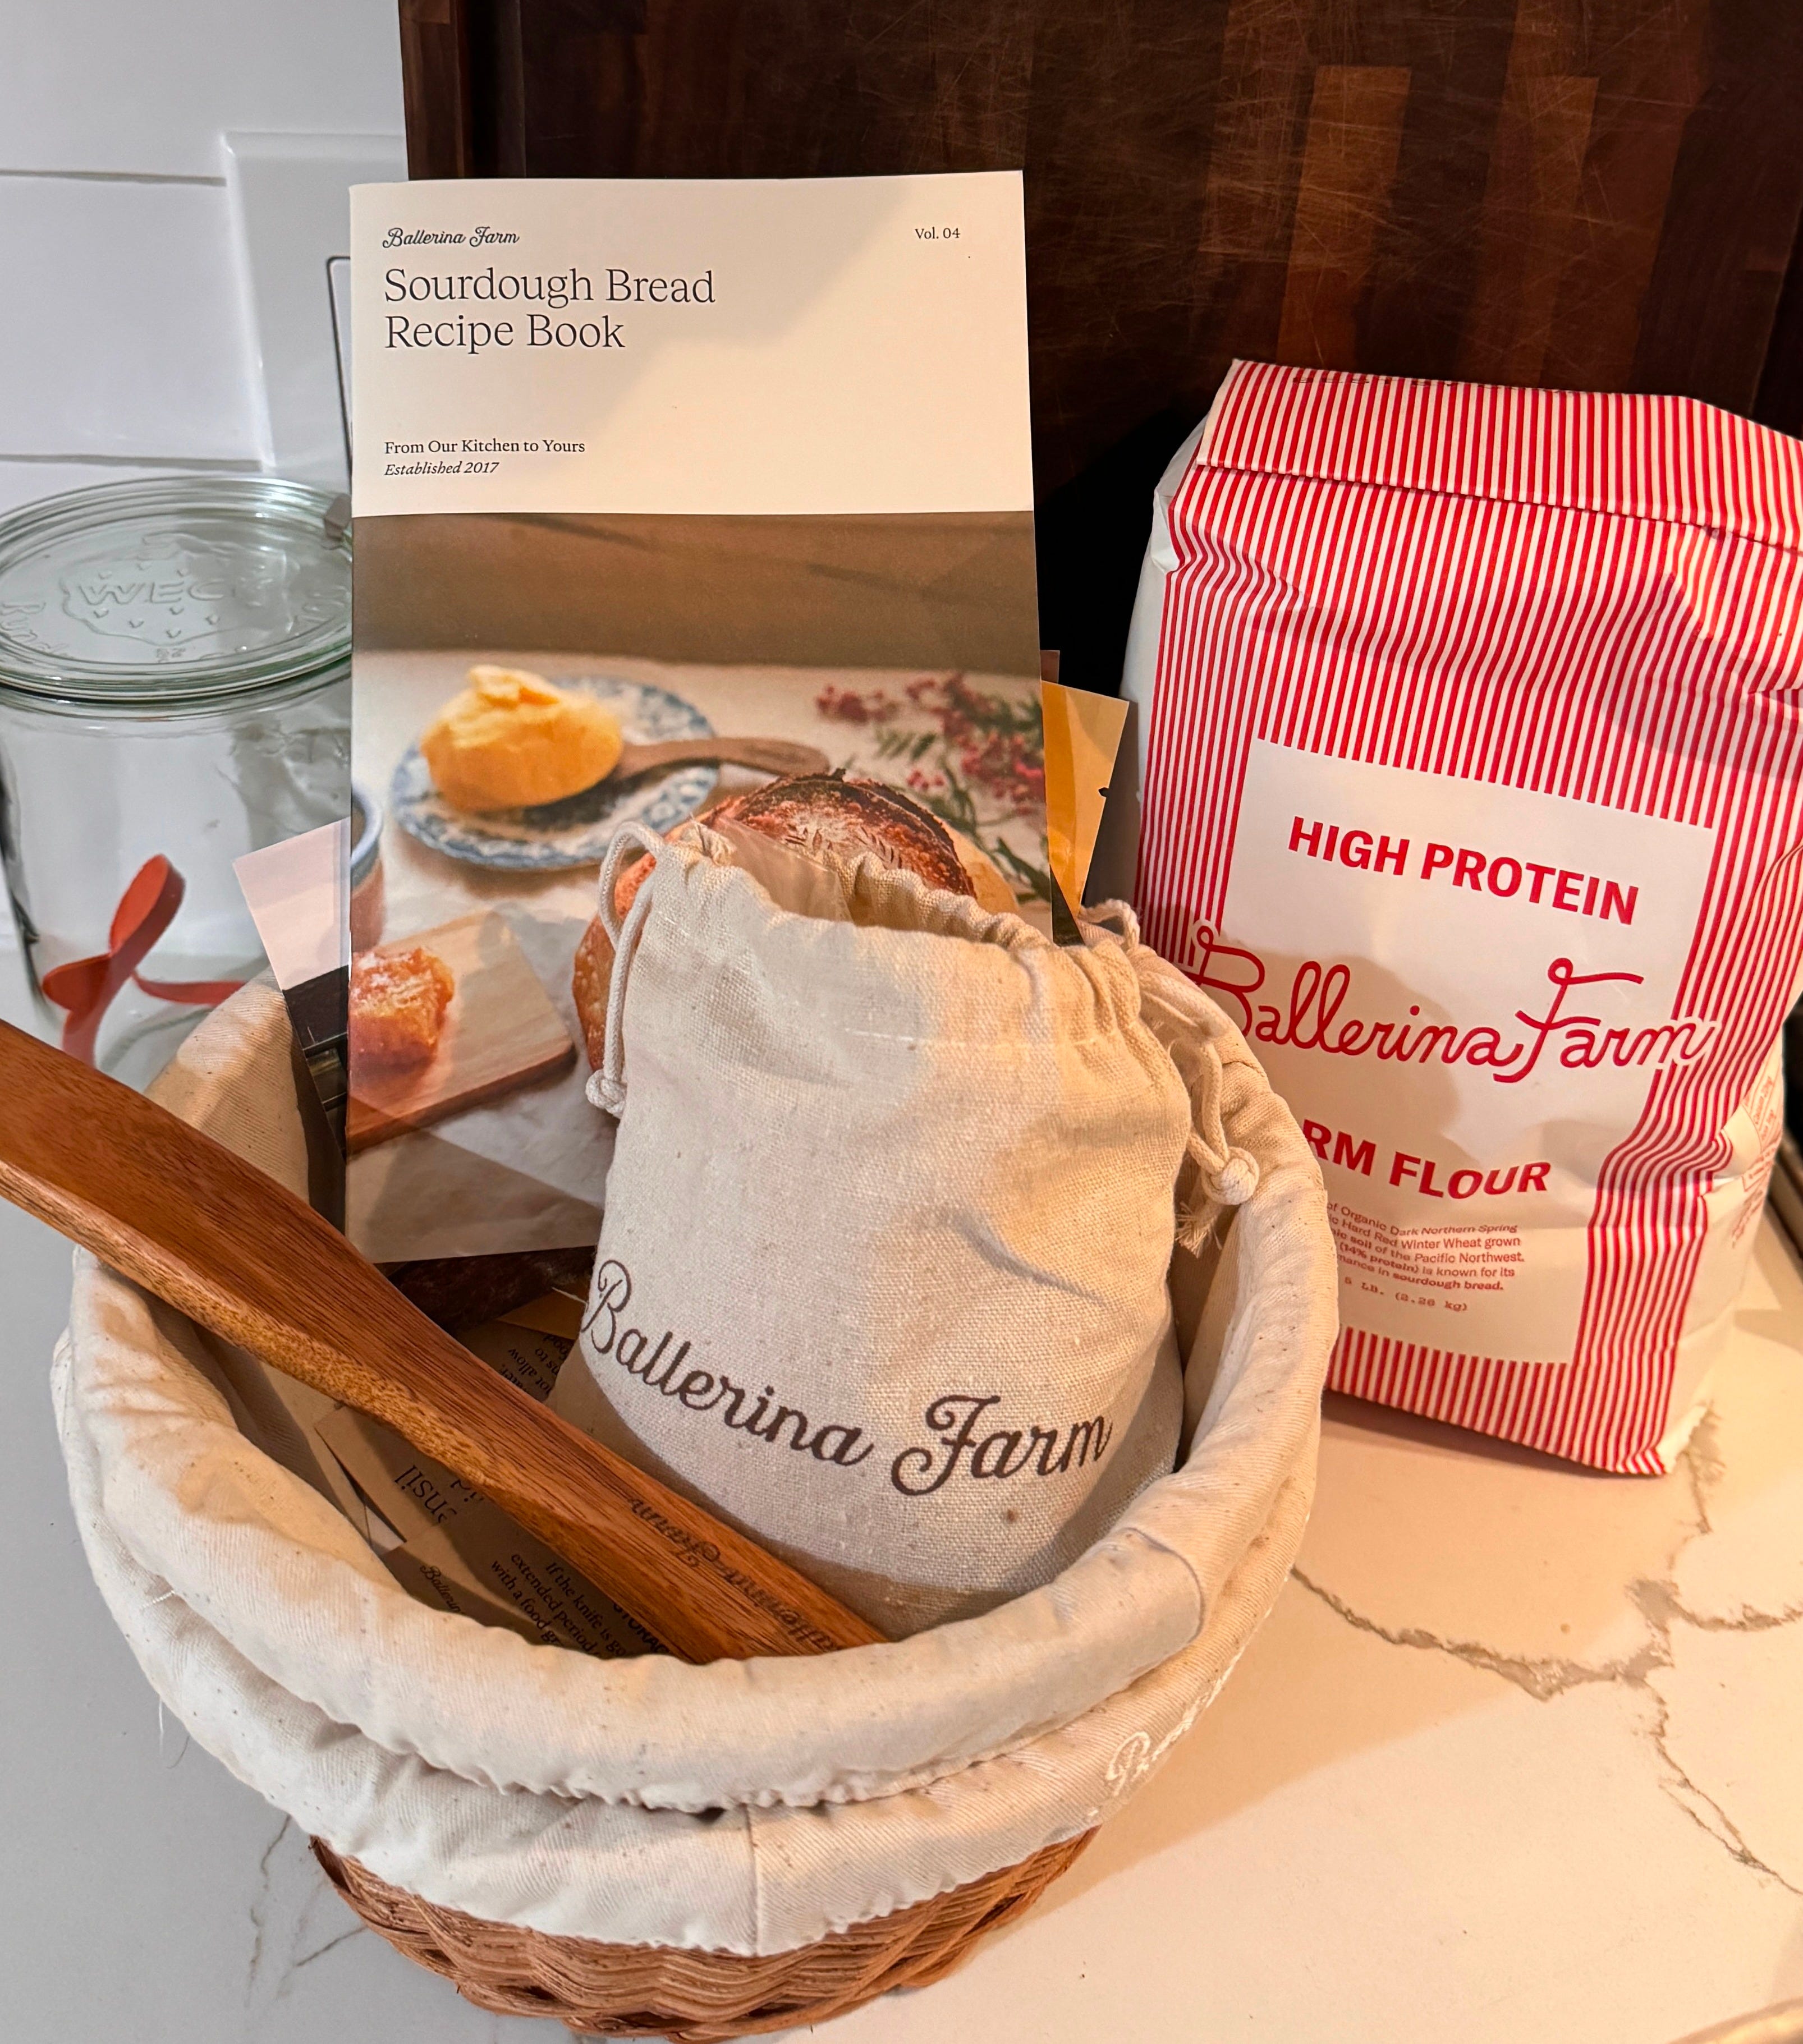
But once it showed up I realized I had the tools but I’m a better visual learner. I was really motivated to want to bake my first loaf, but I needed someone to walk me through it step-by-step, which is why I found a class to sign up for. A woman who made bread for the farm box I was ordering vegetables from at the time offered an option where she would come to your house and teach you. She showed up at my kitchen in San Marino, (our rental house at the time), with a jar of bubbly starter and this calm confidence that made me feel like maybe I could actually do this.
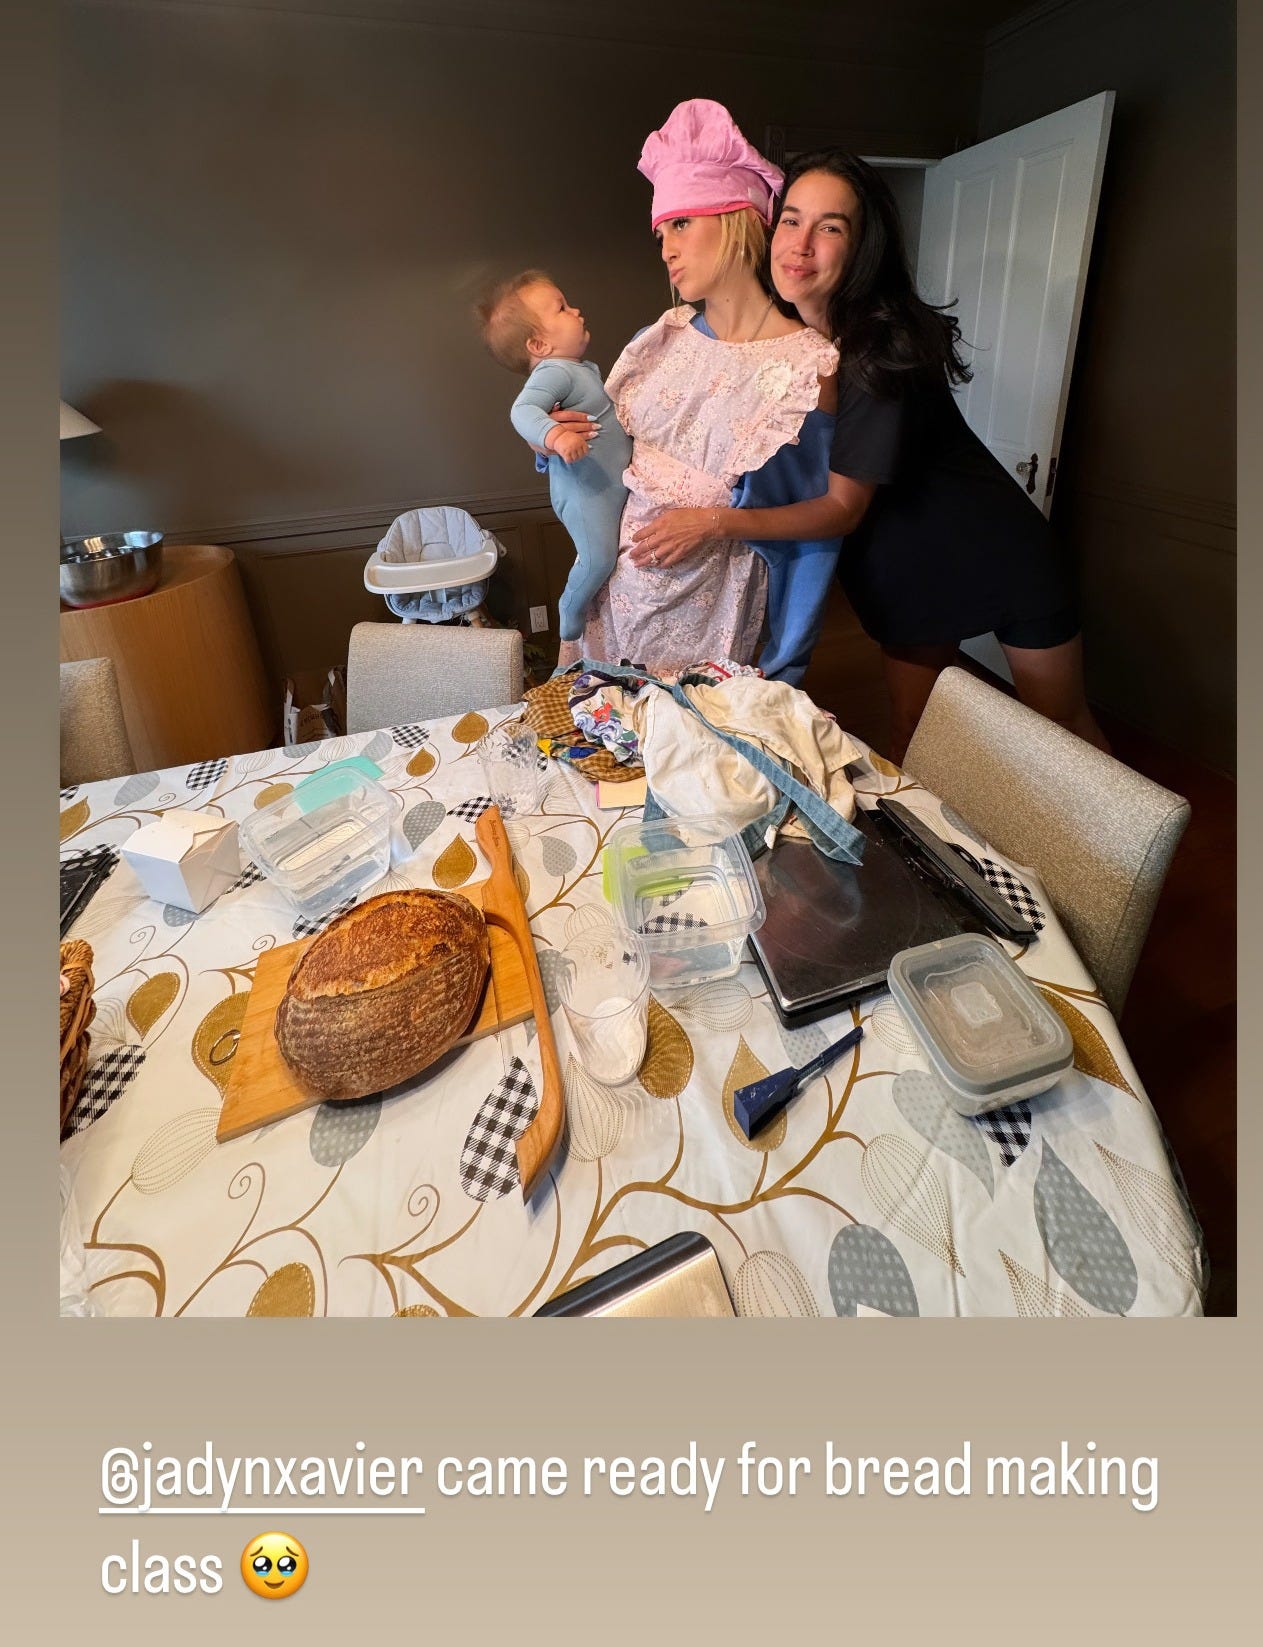
I invited my friend Heather, and with her kids, Poppy and Jay, we all sat around the table and learned how to do it. She gave each of us some of her starter to use for the class, showed me how to feed it, what to look for, when to know it was ready. Having someone go through the steps and teach me was really encouraging! This is why I filmed the video walking you through how to get your starter going from scratch, step by step, day by day. If you’d rather read through everything and reference the tips as you go, it’s all written out below too.
That was right when I was trying to learn how to cook more from scratch. We had gotten bloodwork back and knew we needed to change up our lifestyle, particularly not eating out as often, and I wanted to feel more confident in the kitchen. Sourdough felt like a good place to start. I love bread and had heard it was more beneficial for you than regular bread because of the way it breaks down the gluten and makes it easier for your body to digest. The thing I didn’t fully understand until last year is that it’s not just about taste. The long fermentation process actually changes the bread. I heard Dr. Bill Schindler, an archaeologist and food scientist, explain it well on a podcast. He said when sourdough ferments slowly, the bacteria produce lactic acid, which drops the pH low enough to activate an enzyme that breaks down gluten strands. It also gets rid of anti-nutrients like phytates and lectins that can mess with digestion. It’s not gluten-free, but the gluten has been broken down into something our bodies can actually work with. I notice a real difference!
Once you’ve had a fresh loaf that you made yourself, store-bought sourdough tastes like cardboard. Most of it isn’t even real sourdough anyway. If you flip over the package and see yeast, citric acid, or lactic acid on the ingredient list, it’s fake. They just add sour flavoring to regular bread and call it sourdough. A real loaf takes a day and a half to make, and the fake version takes an hour. So if you’ve been curious about starting your own, I’m going to walk you through exactly how to do it. It takes about seven days to get a starter going from scratch (sometimes up to 10 days), but most of that time is just waiting. You’re not actually doing much, just a few minutes a day. If I can do it, you can do it! Next week I’m going to post my full how-to for making sourdough bread from start to finish, and you’ll need an active starter to make it. So if you get yours going in the next few days, you’ll have it ready in time to bake along with me.
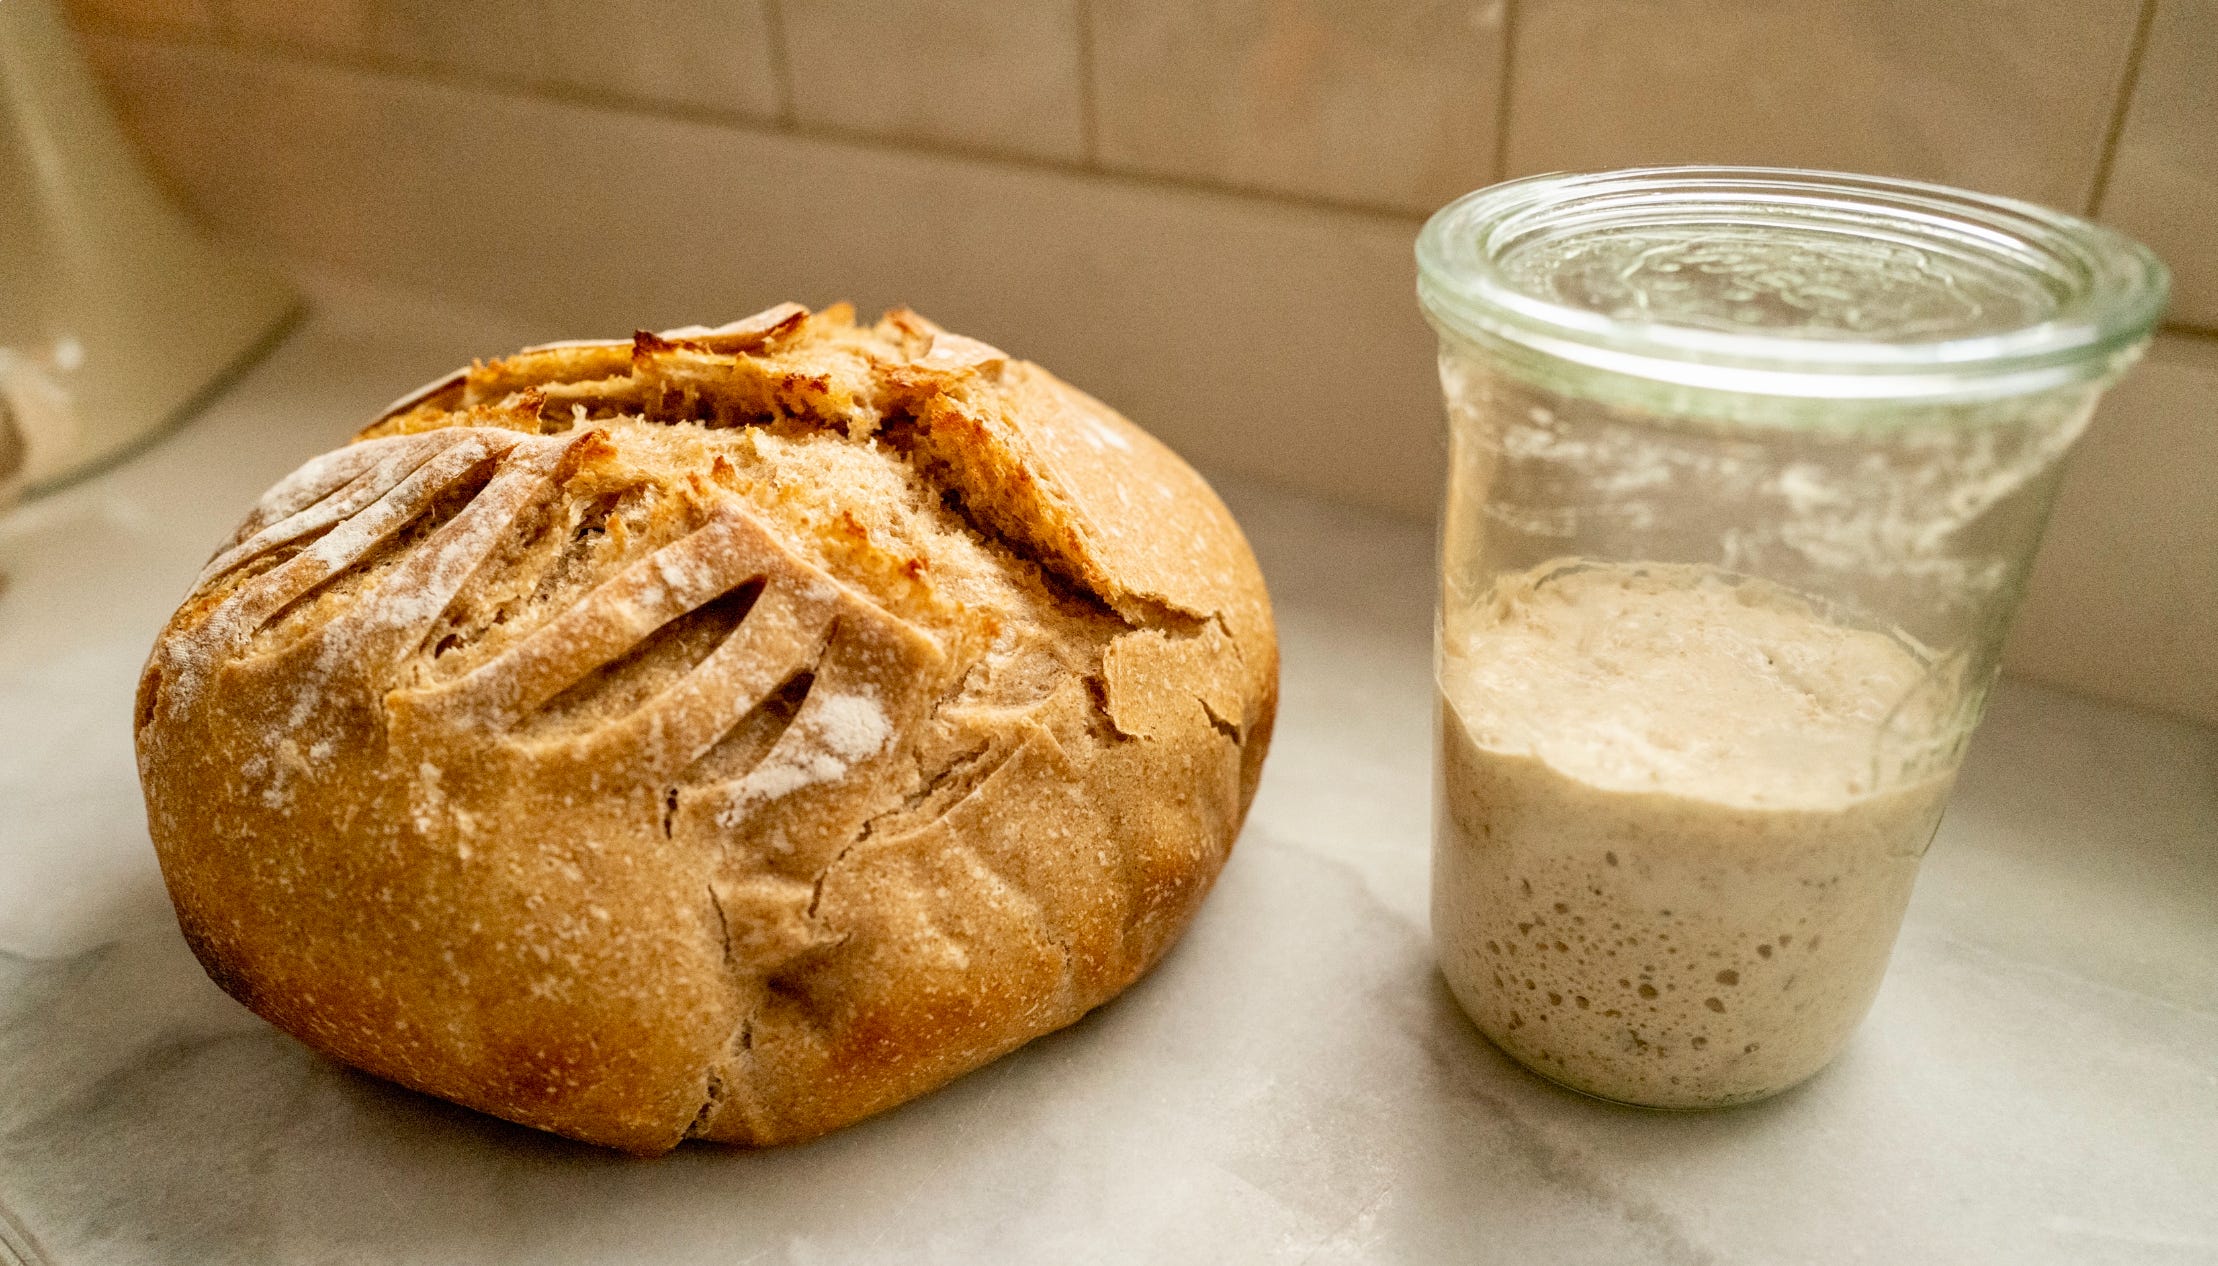
What You’ll Need:
I’ll link my specific products below so you can grab the same ones if you want.
Two glass jars. I use Weck jars because they're wide at the top, easy to stir, and they have a glass lid that isn't screw-on so it still allows air to flow. They come with a rubber ring and latches for canning but I don't use that part for this. Any wide-mouth jar works though. Just make sure there's a few inches of room above the starter for it to rise. The reason for two jars is so you can always feed into a fresh clean jar and keep everything organized. While one jar is being used, you wash the other and have it ready for the next feeding.
A kitchen scale. You really do need to weigh your ingredients for this because measuring cups are too inconsistent.
A spatula for stirring. You’ll be mixing in the jar so something that fits easily inside works best. This is the one I use from Ballerina Farm, or you could use a thin spatula.
Whole grain rye flour. Rye has more nutrients than white flour and helps kickstart the fermentation.
Unbleached all-purpose flour. I usually buy a pack of six at a time so I always have some on hand when wanting to bake bread.
Filtered water. You need to use filtered or bottled water for this, not tap. Tap water contains chlorine and other things that can interfere with fermentation and slow your starter down or keep it from developing properly.
A warm spot, ideally around 75-80°F and out of direct sunlight. I keep my starter on the counter overnight after feeding, and if my kitchen is too cold, I put it in the oven with the oven off but the oven light on. That little bit of warmth makes a difference. If your kitchen runs cool, warming your water to around 80°F before mixing also helps.
A rubber band or hair tie. After each feeding, put it around the jar at the level of the starter so you can easily see how much it rises. This is one of the best ways to know if things are moving in the right direction.
What You’ll Need for Baking Sourdough Bread (Next Week’s Post)
If you want to get everything ordered at once so you’re ready to bake as soon as your starter is active, here’s what you’ll need for the bread itself. I’ll go into more detail on all of this next week.
A banneton proofing basket, the ones I use HERE.
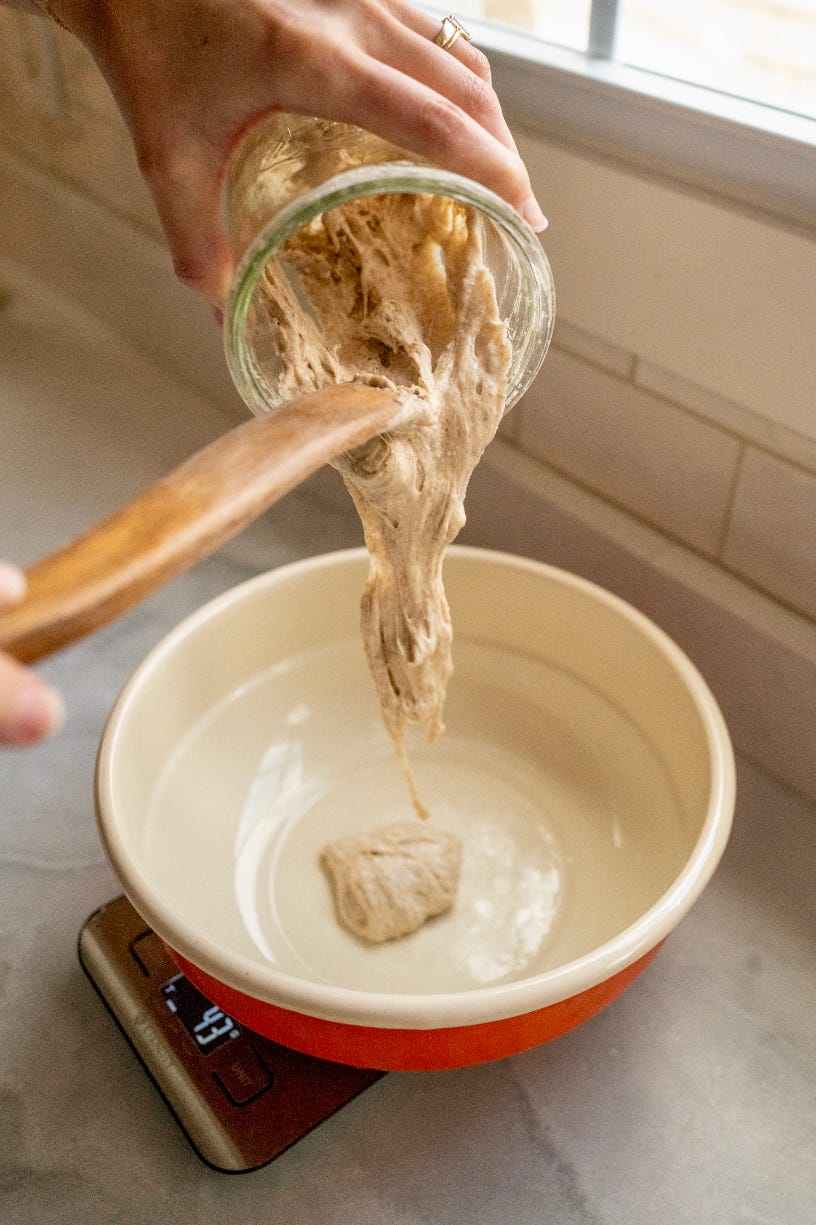
A mixing bowl. I love this one from Ballerina Farm, the size is perfect for stretch and folds.
Bread covers for the bowl or tea towels
A bread lame (the one I have) or razor blade for scoring
Why Rye Flour
You’ll notice I start with rye flour in the beginning and keep using it throughout. Rye has more wild yeast and nutrients than white flour, which helps get things going faster in the early days. It gives your starter a boost that all-purpose flour alone can’t provide.
How to Use Your Scale
If you’ve never used a kitchen scale before, it’s really simple. Turn it on and make sure it’s set to grams (there’s usually a button that switches between grams and ounces). Place your empty jar on the scale and press the tare button, which resets the scale to zero. Now anything you add to the jar will be weighed without counting the jar itself. Add your flour until the scale reads the amount you need, then press tare again to reset it back to zero before adding the next ingredient. So for example on Day 1, you’d put your jar on the scale, tare it, add flour until it reads 100g, tare again, then add water until it reads 125g. That’s it. Once you get the hang of it you’ll never want to go back to measuring cups.
Before you start, think about what time of day works best for you to do your feedings. For the first three days you’ll only need to feed once a day, about 24 hours apart. Starting on Day 4 you’ll bump up to twice a day, roughly 12 hours apart. So if you do your first feeding at 7 in the morning, your second one would be around 7 in the evening. Pick times that fit your routine so it’s easy to stay consistent. It doesn’t have to be exact down to the minute, but keeping a general schedule helps your starter develop.
One more thing: when I feed my starter, I always get a fresh clean jar and add the ratios to the new jar. It keeps everything organized and you can wash the old jar and have it ready for the next feeding. This is why I like using two jars.
Day 1
100g whole rye flour
125g filtered water
Mix in a clean jar and stir until there’s no dry flour left. Cover loosely with the lid resting on top, not sealed tight, and put it somewhere warm. That’s all you need to do today.
Next feeding: 24 hours later (Day 2)
Day 2
Check your jar. You might see bubbles, you might see a lot of activity like it’s trying to climb out, or you might see nothing at all, and all of that is normal. I didn’t see much of anything the first couple of days when I made mine from scratch, but some people do. Take a second clean jar and scoop 75g of yesterday’s mixture into it, then throw the rest away. I know it feels wasteful, but you can’t use it yet so just let it go.
75g carry over starter from yesterday
50g whole rye flour
50g all-purpose flour
115g filtered water
Stir well, cover loosely, and put it back in the warm spot.
Next feeding: 24 hours later (Day 3)
Day 3
There’s often a burst of activity in the first couple days that suddenly dies off around now, and a lot of people panic and think they killed it. You didn’t. This is completely normal because the initial bacteria are dying off and the good ones are moving in. Just keep going.
75g carry over starter from yesterday (discard the rest)
50g whole rye flour
50g all-purpose flour
115g filtered water
Mix, cover, and rest.
Next feeding: 24 hours later (Day 4 morning)
Day 4
Today you start feeding twice a day, about 12 hours apart.
Morning feeding:
75g carry over starter (discard the rest)
50g whole rye flour
50g all-purpose flour
115g filtered water
Next feeding: 12 hours later (Day 4 evening)
Evening feeding:
75g carry over starter (discard the rest)
50g whole rye flour
50g all-purpose flour
115g filtered water
Next feeding: 12 hours later (Day 5 morning)
Days 5 and 6
Keep the twice-daily feedings going with the same amounts:
75g carry over starter
50g rye flour
50g all-purpose flour
115g filtered water
You should start seeing consistent signs of life by now, like bubbles throughout, the mixture rising and falling between feedings, and a sour smell that’s tangy but not gross. You’ll know it’s working when your starter is noticeably rising after each feeding and you can see the level has gone up past your rubber band. It might not be doubling yet, but if it’s rising and falling on a predictable schedule and smells sour in a good way, you’re on the right track.
Feed every 12 hours: morning and evening
Day 7 and Beyond
Now we switch to a slightly different ratio that you’ll use going forward. Each feeding, twice a day:
20g starter (discard the rest)
30g whole rye flour
70g all-purpose flour
100g filtered water
By now your starter should be getting more predictable. After you feed it, place a rubber band around the jar right at the level of the dough. The next morning, you'll be able to see how much it rose. Once it's consistently doubling in size past the rubber band, your starter is ready to bake with. It rises, it falls, and it smells sour in a good way. When it’s bubbly throughout, has roughly doubled, and looks alive, it’s ready to bake with. If you’re at Day 7 and it’s still not quite doubling or looking as active as you’d expect, don’t get discouraged. Some starters take up to 9 or 10 days depending on your flour and your kitchen environment. Just keep feeding it with this same ratio and it will get there.
Feed every 12 hours: morning and evening, until ready to bake or store
The Float Test
Once you think your starter is ready to bake with, you can do the float test to check. Drop a small spoonful of starter into a glass of room temperature water. If it floats, it’s active and ready to use. If it sinks, it needs more time or another feeding. The first time it floats is a really satisfying moment.
Timing Matters
When your starter is at its peak, that’s the best time to use it. You’ll know it’s at peak when it’s risen to its highest point, is full of bubbles, and looks light and airy. This is usually around 8-12 hours after feeding, depending on how warm your kitchen is. If you wait too long and your starter has already risen and fallen back down, it’s past its peak. At that point the acids have built up and started breaking down the gluten, which means your dough won’t hold together as well and you won’t get as good of a rise. If you miss the window, just feed it again and wait for it to peak before using it. It’s better to wait for a fresh, active starter than to use one that’s overdeveloped.
Once Your Starter is Active
Once your starter is rising and falling predictably each day, here’s how to use it and store it:
If you want to bake tomorrow morning: Feed your starter the evening before and leave it out on the counter overnight. By the next morning it should be bubbly, roughly doubled, and have that good sour smell. That means it’s active and ready to use.
If you’re not planning to bake anytime soon: Feed your starter, then put the lid on (I still do the loose lid method with the Weck jar, it’s not fully sealed) and stick it in the fridge. The cold slows everything way down so you only need to feed it about once a week to keep it alive. I’ve gone two weeks before without feeding mine and it was totally fine. These starters are very hard to kill.
If your starter has been in the fridge and you want to bake: Pull it out about 12 hours before you want to bake. So for example, if I want to start my sourdough dough the next morning, I would feed it around 7pm at night and leave it on my counter, or in the oven with the oven off and the oven light on if it’s cold. By the next morning it should be awake and ready to go. If it’s been more than a week or two since you fed it, give it two feedings to wake it back up before you bake with it.
Saving the Discard
Once your starter is stable, you can start saving the discard instead of throwing it away. I wait until after day 10 to be on the safe side and make sure the starter is really active and ready before I start keeping it. Every time you feed it, the portion you would normally toss can go into a jar in your fridge. I keep a running discard jar and add to it throughout the week. There are so many recipes you can make with it, sourdough waffles (we make this weekly to use the discard), sourdough cinnamon rolls, so I don’t like to throw it away.
What If You Miss a Feeding
Life happens. If you’re a few hours late or even miss a whole feeding, it’s not the end of the world. Just feed it when you can and keep going. Your starter is more resilient than you think.
Troubleshooting
It’s not rising at all: It probably needs more warmth. Try moving it to a warmer spot or putting it in the oven with the oven off and the light on. If it’s still not rising after a few more days, give it time. Some starters are just slow to get going.
It smells like nail polish remover or alcohol: This means it’s been too long between feedings and it’s very hungry. Scoop off the top layer and discard it, then feed it and continue on. It should bounce back. (This has happened to me before when I’ve left it for longer than two weeks when we were traveling).
It’s too thick or too runny: You can adjust your water slightly. If it’s too thick to stir easily, add a little more water next time. If it’s super runny and not holding any structure, use a little less water.
There’s a crust forming on top: Just stir it back in and make sure you’re covering it better. The loose lid method helps keep moisture in while still letting air flow.
A Few Things I’ve Learned
Don’t stress about perfect timing. If you feed at 7am and then 8pm instead of exactly 12 hours apart, your starter can handle it. And if you see liquid forming on top, that’s called hooch. It’s not mold and nothing is ruined, it just means your starter is hungry and needs to be fed, so stir it back in and give it fresh flour and water. If you ever see anything pink, white and fuzzy, or green though, that’s actual mold, and you’ll want to toss the whole thing and start fresh.
Other Tips
Your starter will develop its own personality. Every starter is a little different because it’s influenced by the flour you use, the water, and even the environment in your home. Over time you’ll get to know how yours behaves, how fast it rises, and what it looks like when it’s ready. Trust your instincts once you’ve been doing this for a while.
Keep notes. It sounds old school but jotting down quick notes like what time you fed it (I use my notes app), what the temperature was in your kitchen, and how it looked the next day can help you troubleshoot if something isn’t working. After a few weeks you’ll start to see patterns.
Don’t switch flours mid-process. During the first 7-10 days while you’re getting your starter established, stick with the same flours. Switching brands or types can throw things off while your starter is still trying to stabilize. Once it’s active and predictable, you can experiment more.
Warmer weather means faster fermentation. In the summer your starter might peak in 6-8 hours instead of 12. In the winter it might take longer. Pay attention to how it looks and smells, not just the clock.
You can dry your starter as a backup. Once your starter is active, spread a thin layer on a piece of parchment paper and let it dry completely. Break it into flakes and store it in a jar. If anything ever happens to your starter, you can rehydrate the flakes with water and flour and bring it back to life.
A Note on Cost
Once you have the initial supplies and an active starter, baking your own bread costs almost nothing. Flour and water are cheap, and a homemade loaf that would cost you $7 or more at the store can be made at home for less than a dollar. It adds up fast.
Quick Reference Guide:
Days 1-3: Feed once a day (every 24 hours)
Days 4-6: Feed twice a day (every 12 hours)
Day 7+: New ratio, twice a day
Ready to bake when: Bubbly throughout, roughly doubled, smells tangy
To store: Feed it, then fridge with loose lid, feed once a week
To bake after storing: Pull out, feed, leave on counter 12 hours
You’ll probably have a moment around Day 3 or 4 where you’re convinced nothing is happening and you’ve failed. Push through and keep feeding it, because it’s working even when it looks dead. And when you pull your first real loaf out of the oven, one that you raised from flour and water and time, you’ll get why people get a little obsessed with this.
Next week I'm posting my full guide to baking sourdough bread from start to finish, so get your starter going now and you'll be ready to bake along with me. If you have any questions along the way, drop them in the comments or send me a message and I'll do my best to help. I'd love to see your progress!
xx Brittany


