


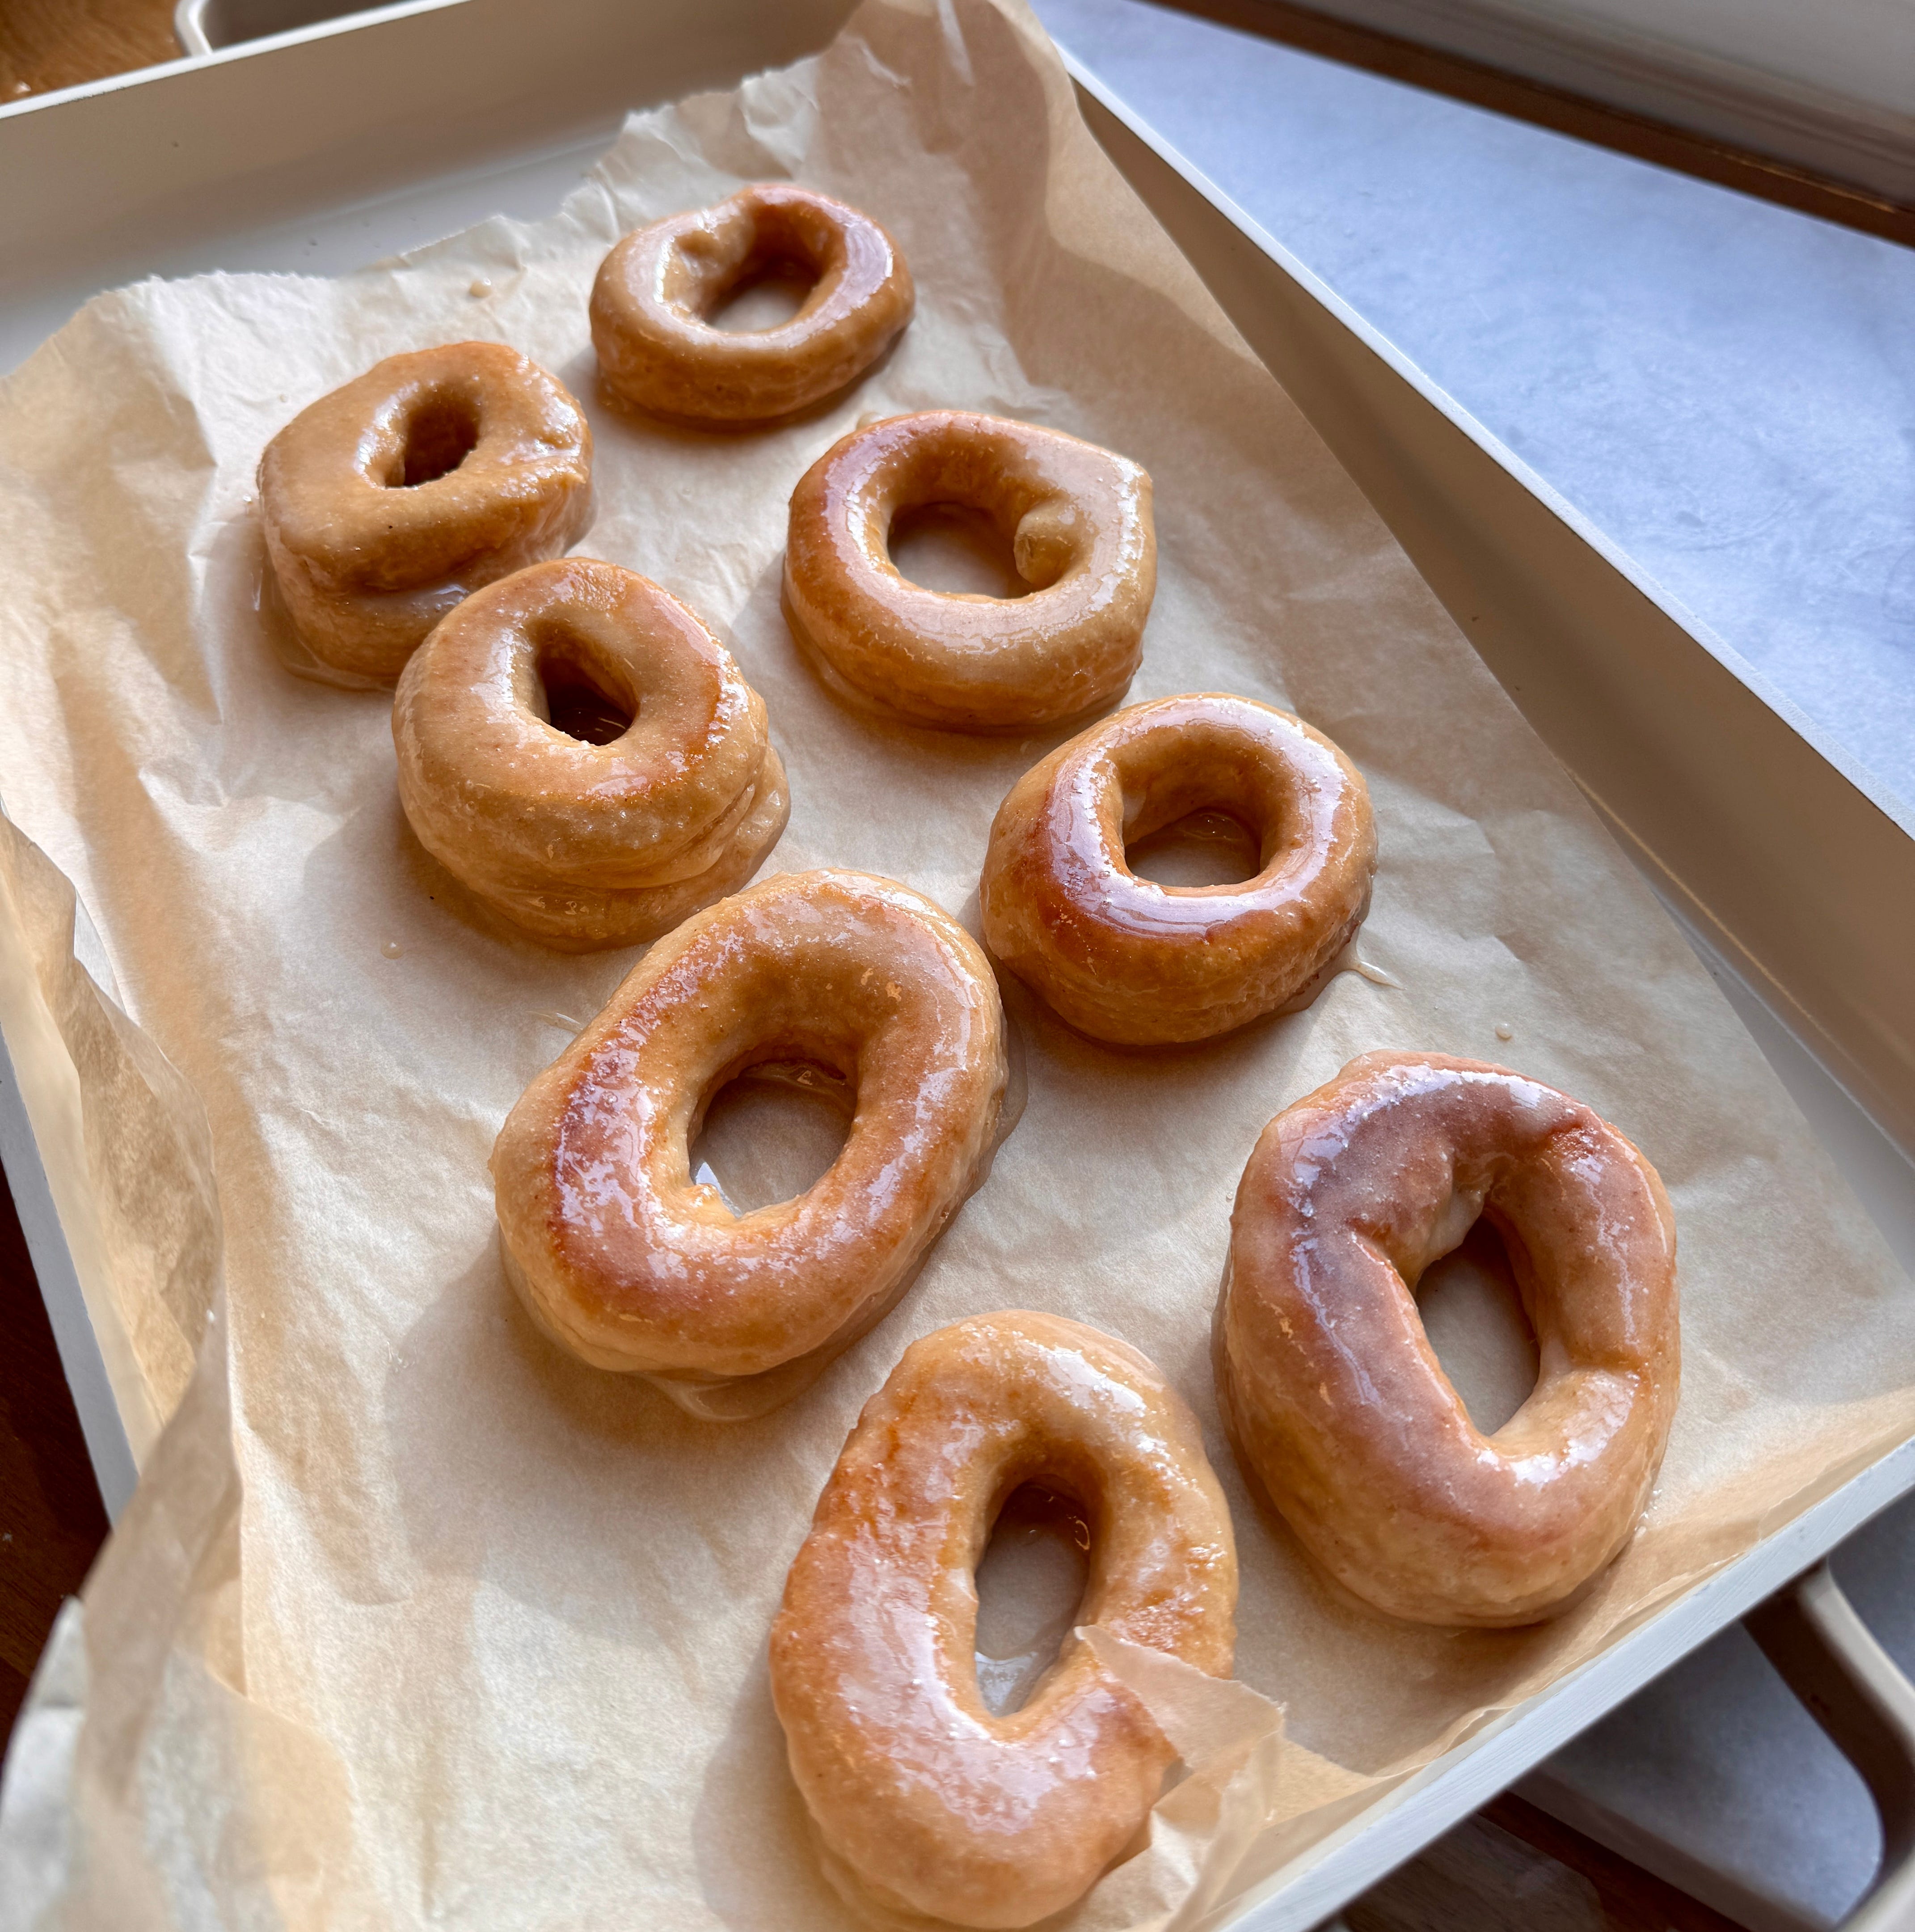
I love sourdough donuts because they feel like a better way to enjoy a treat at home. Instead of using commercial yeast and rushing the process, sourdough fermentation gives the flour time to break down before it’s cooked, which usually means the donuts feel lighter and don’t sit as heavy afterward. The long fermentation also makes the dough so much easier to work with. After resting overnight, it rolls out smoothly, cuts cleanly, and fries more evenly. Each step only takes a few minutes of actual hands-on time, and most of the waiting is the dough fermenting.
To make these you'll need a sourdough starter, and if you don't have one, I show you how to start one from flour and water in this beginner-friendly video (it takes about 7-10 days to get going) but once you have it, recipes like this are so easy to make!
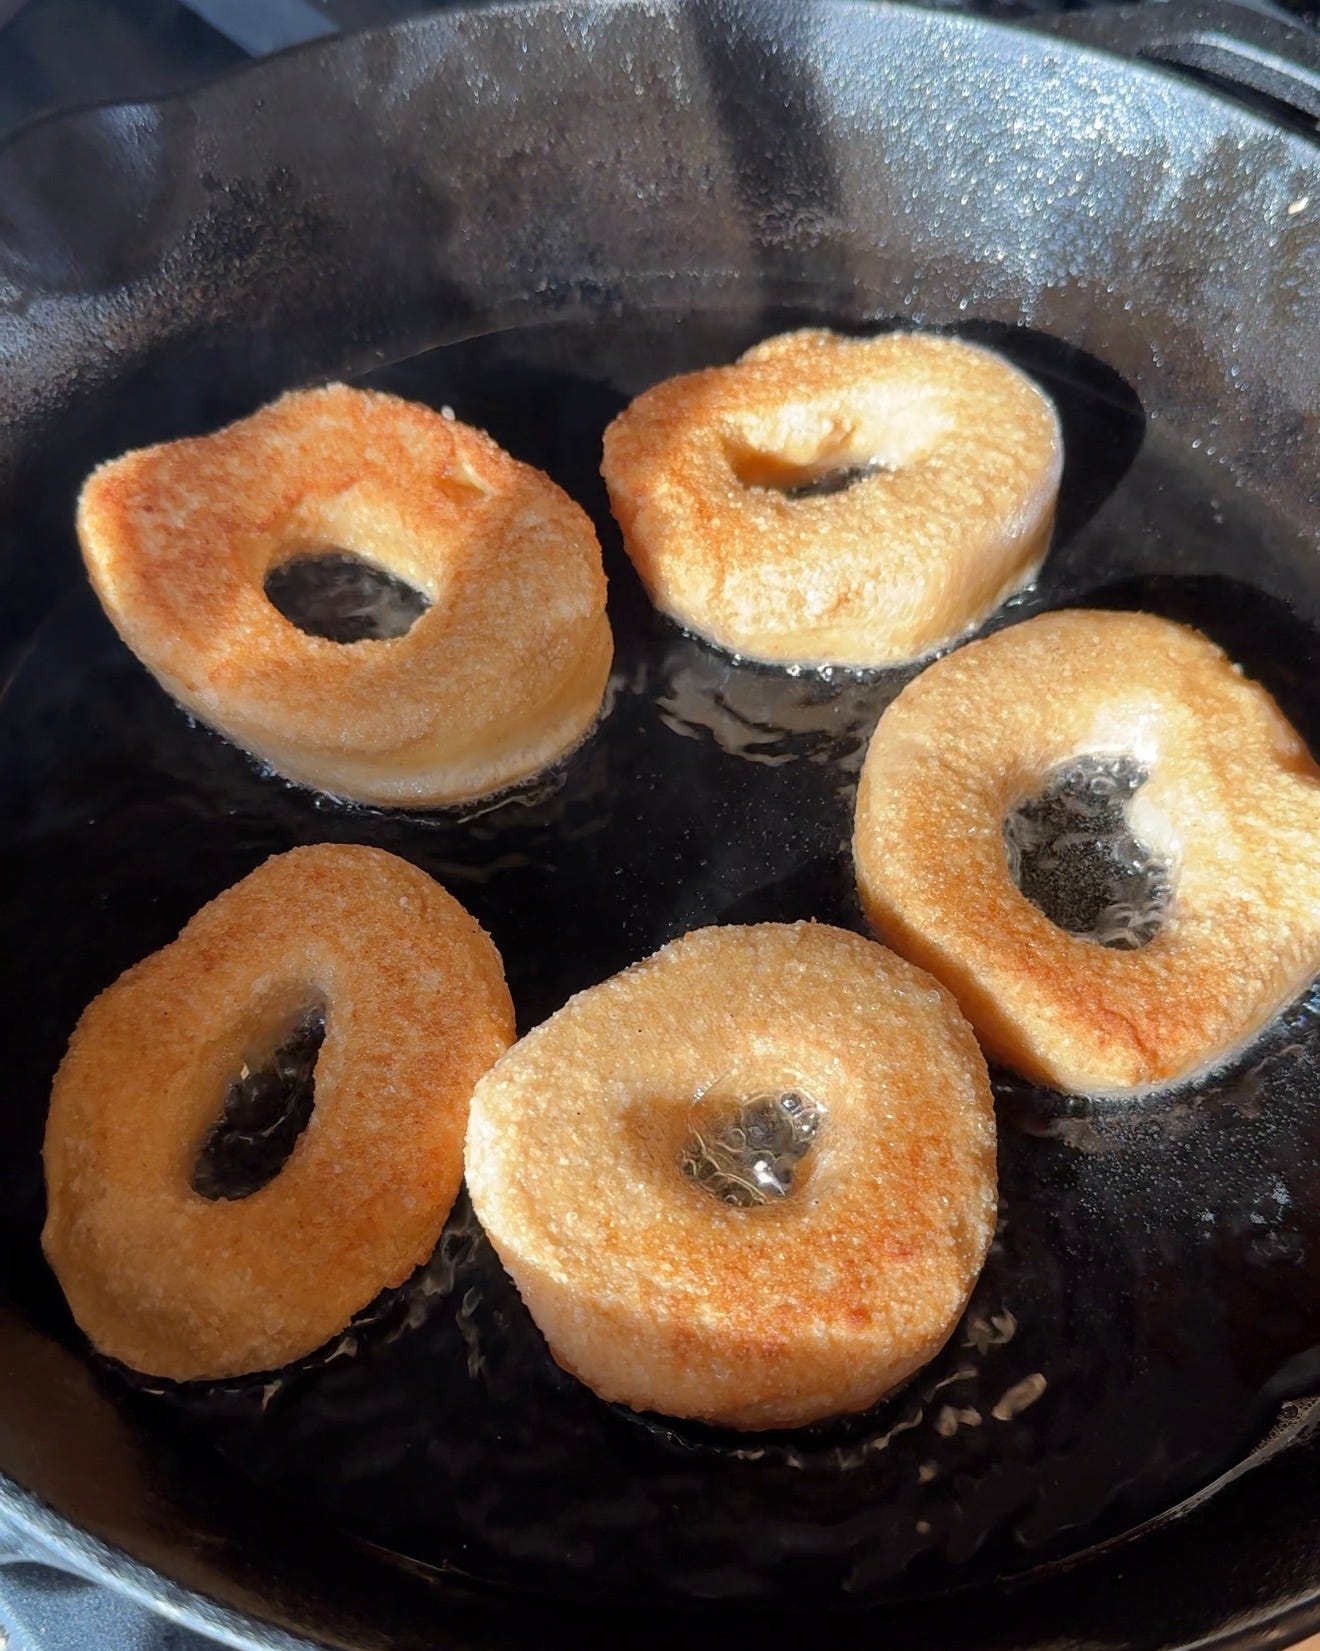
The other big reason I make them this way is how they’re fried. When I was pregnant with Poppy, I loved those mini powdered donut holes from the store, something about the texture. This was before I started checking ingredient lists of course. Those little donuts contain palm oil, soybean oil, titanium dioxide, and a whole list of preservatives I can’t pronounce. Titanium dioxide is a whitening agent that’s been banned as a food additive in the EU since 2022 because they couldn’t rule out that it might cause DNA damage (and to think I was eating them while pregnant!). Now that I’m pregnant again and so much more aware of what goes into our food, I don’t crave those mini donuts anymore. Most store-bought donuts are fried in commercial seed oils, but these sourdough ones are fried in beef tallow instead. Tallow is stable at high heat and has been used for frying for generations. The donuts come out crisp on the outside and soft on the inside, and they taste like freshly made, warm donuts, not something that’s been sitting in plastic on a store shelf for weeks. These are the ones I crave now. The homemade version has flour, butter, sugar, eggs, milk, salt, and sourdough starter. I love a sweet treat, and it’s nice to be able to make these at home without all the added chemicals.
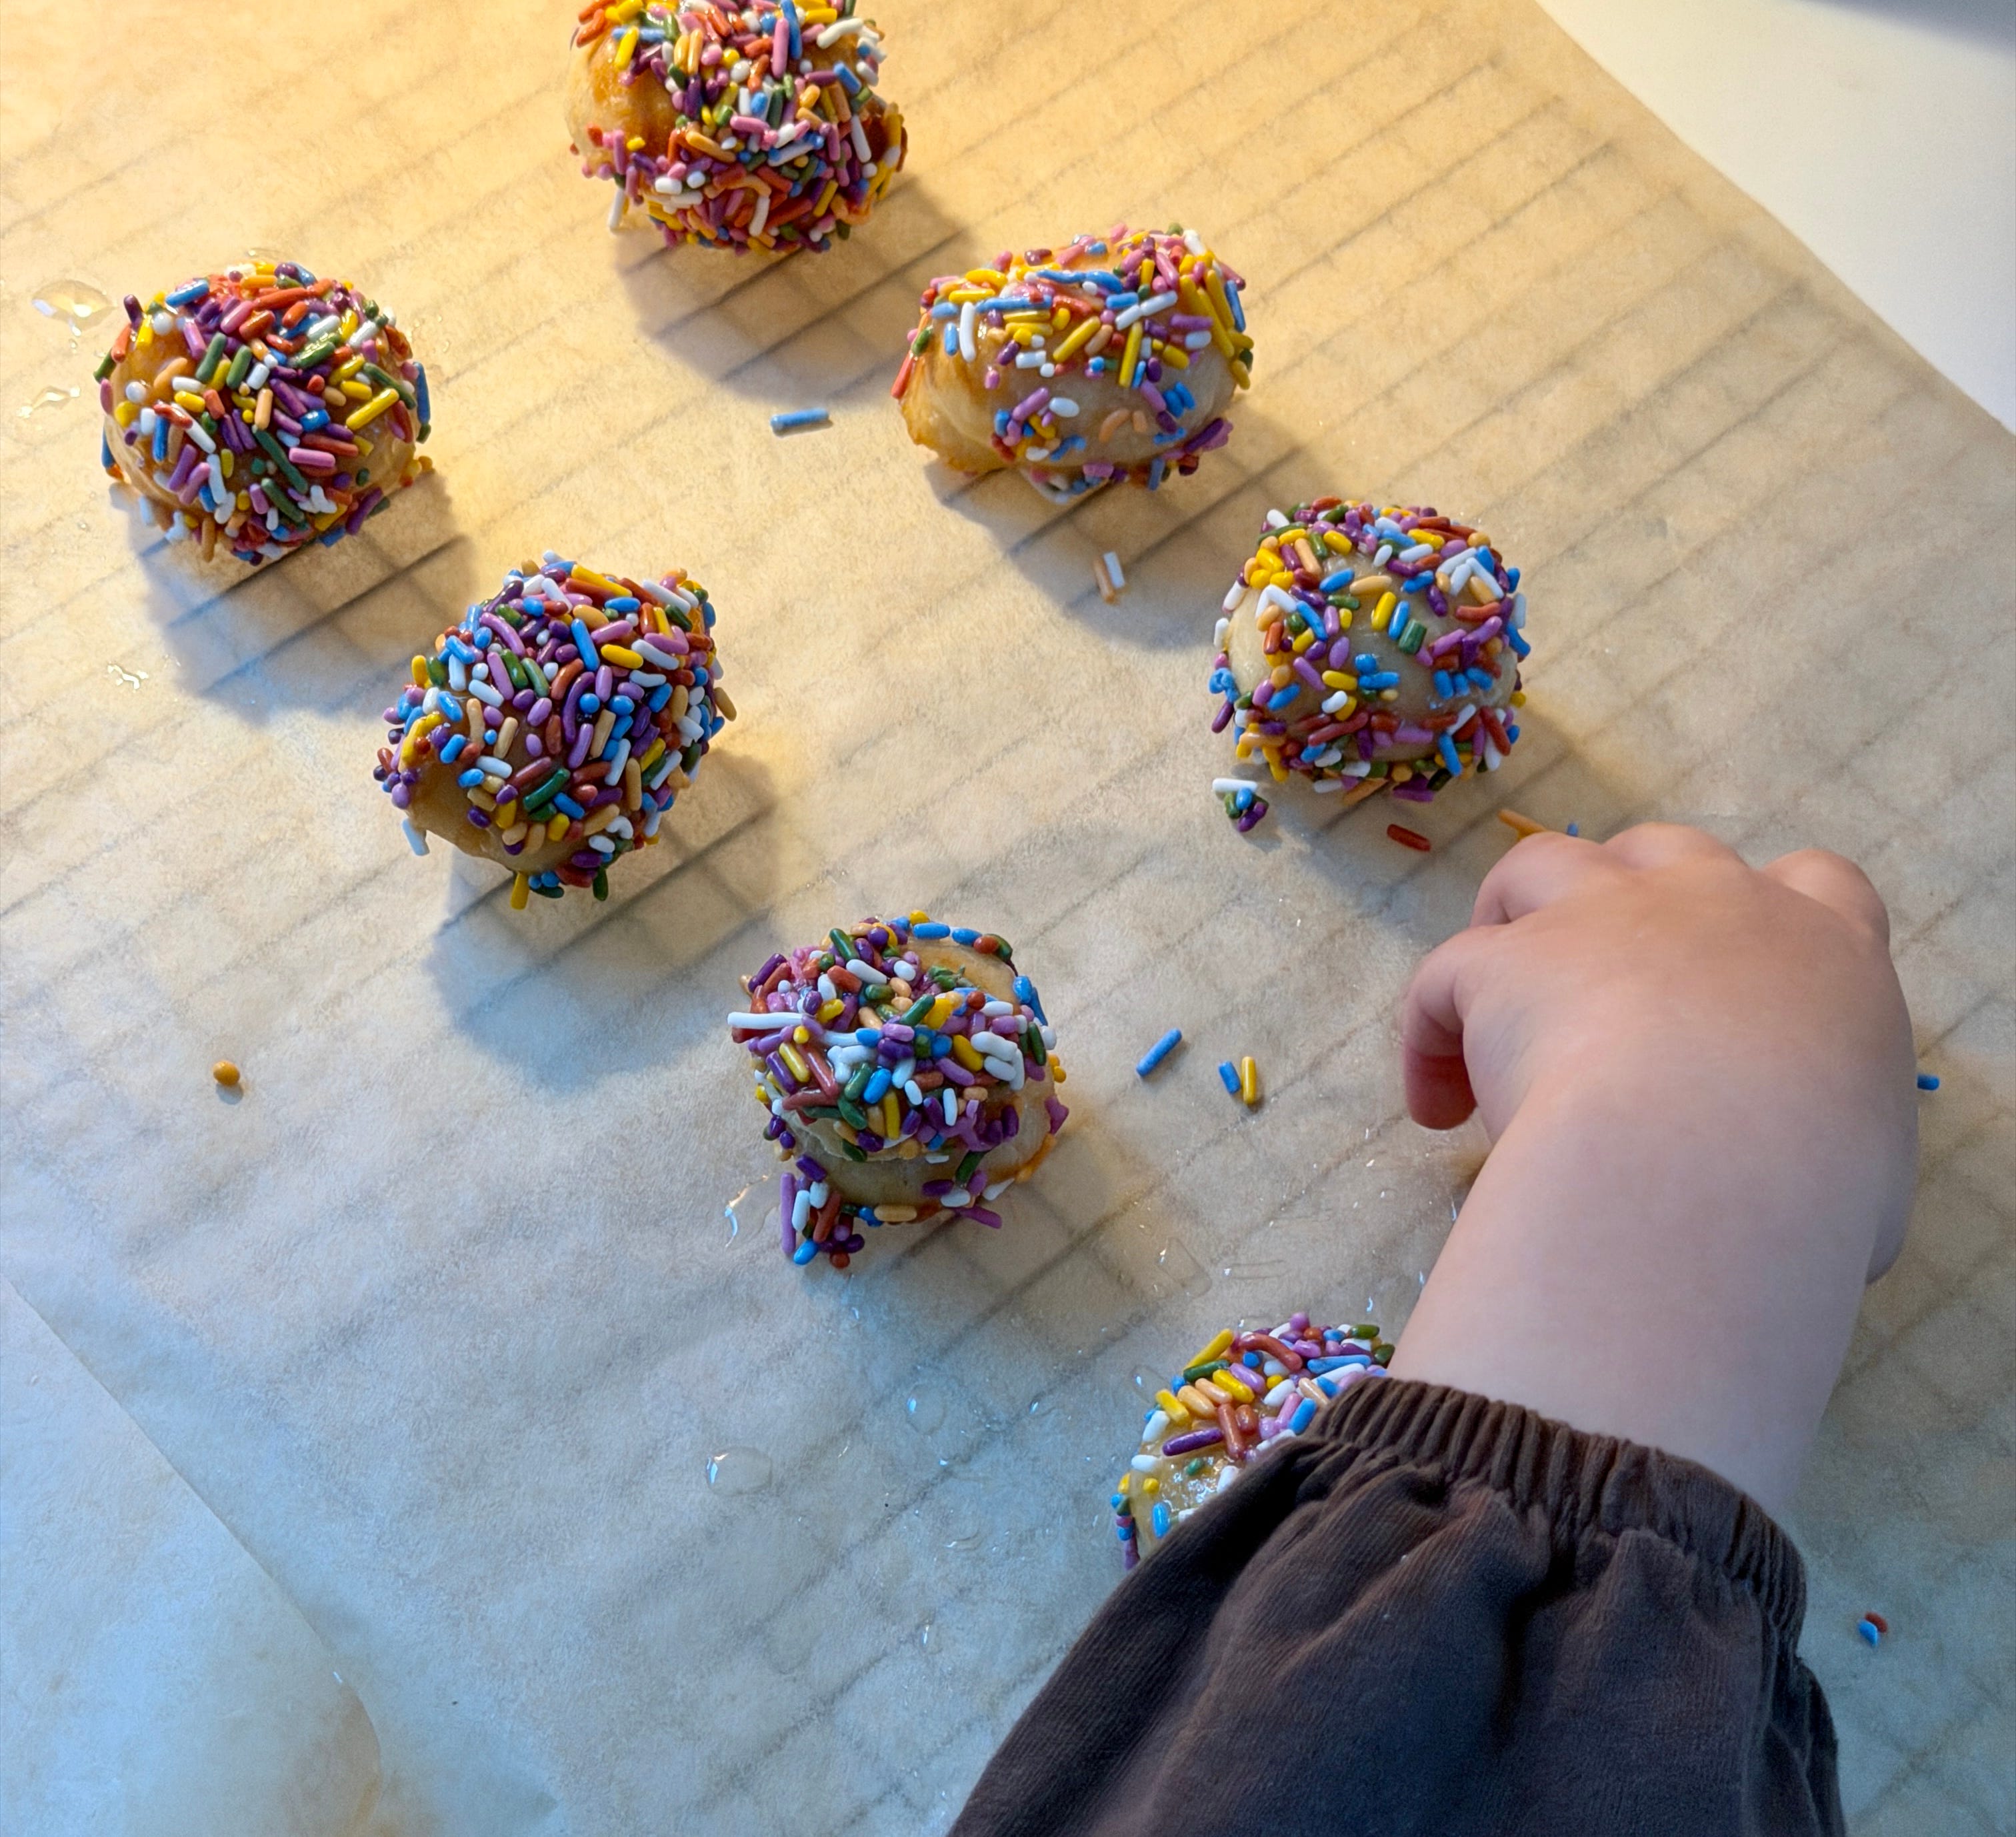
They’re also really fun to make with the kids. Poppy looks forward to it every time I mention we’re planning to make donuts. We like rolling the donut holes in rainbow sprinkles (without artificial coloring, of course), and it’s become one of those little traditions we all look forward to.
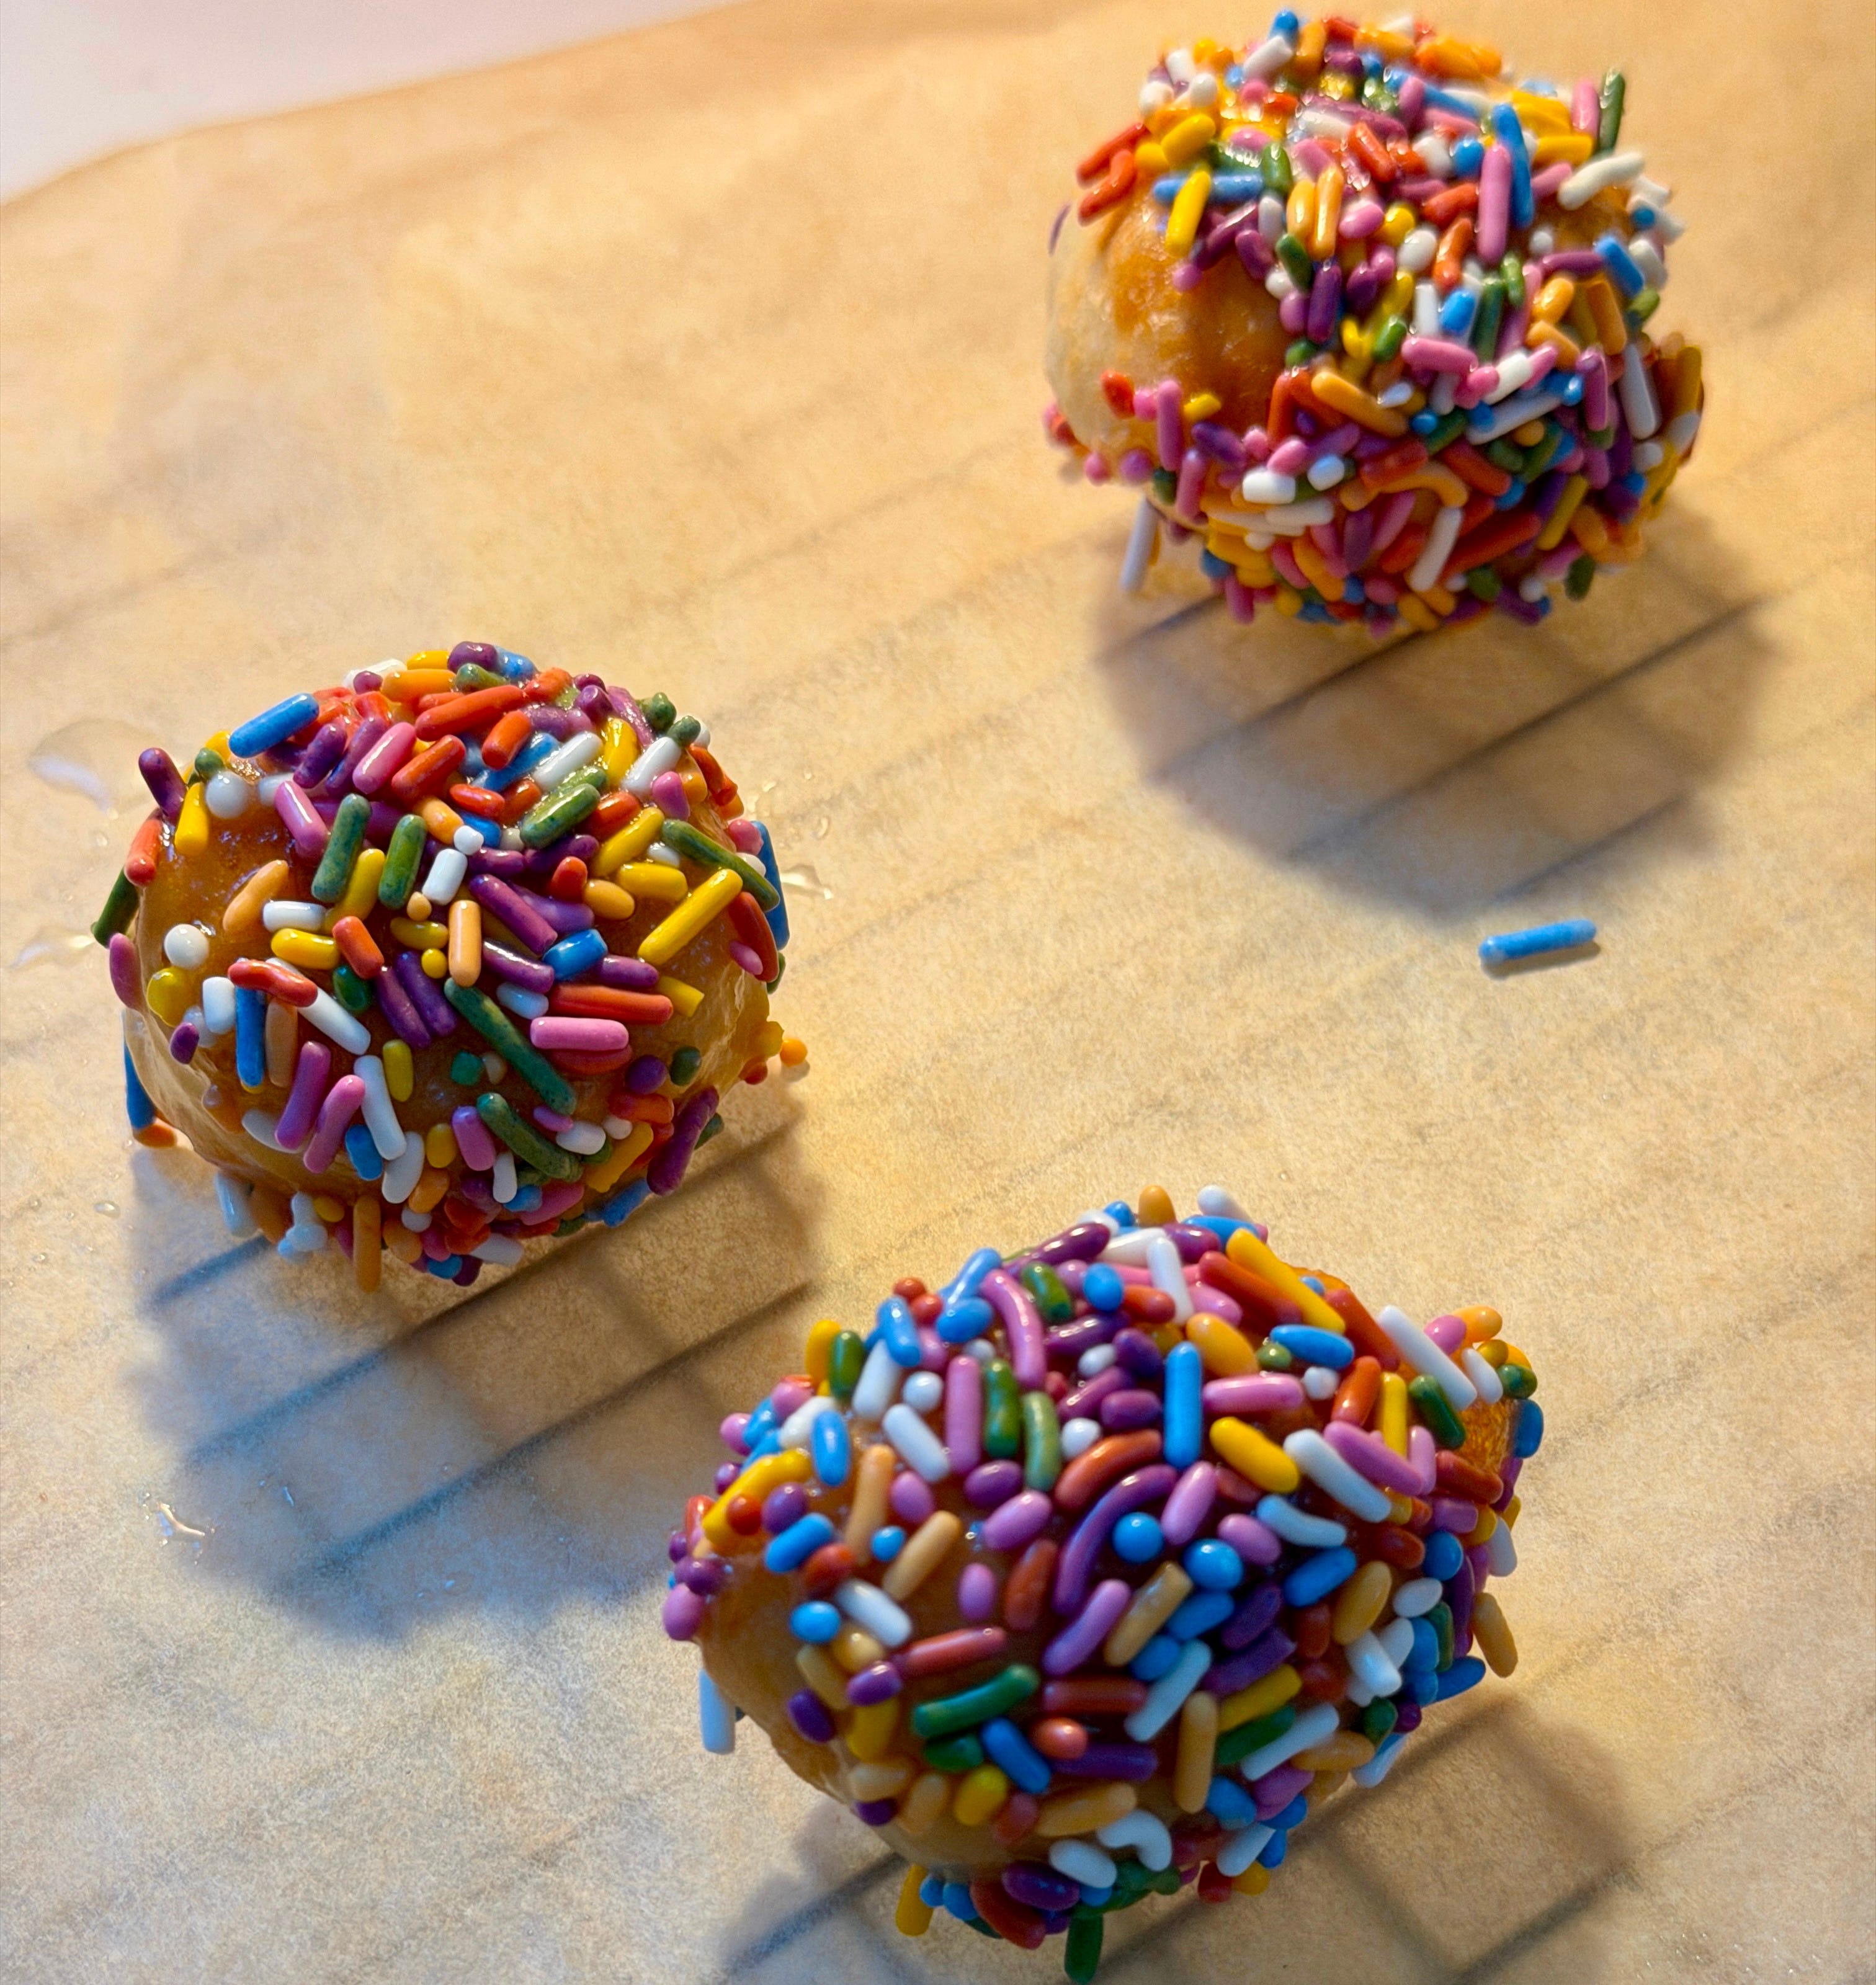
Between the sourdough fermentation and frying in a traditional fat, these feel like a better option when you want a donut at home rather than grabbing one out. I’ve also included a cooking schedule below so you know exactly when to start your dough and when to fry. With sourdough, you have to work backwards, and it helps to have it all mapped out so you’re not doing math at 10pm trying to figure out if your donuts will be ready by breakfast. Plus all the tips I wish I knew the first time I made these:
Sourdough Donuts
Prep Time: 15 min Cook Time: 15 min Rest Time: Overnight Total Time: ~14½ hours Serves: 16 donuts
Tools Needed
Stand mixer with dough hook
Measuring cups and spoons
Large bowl
Saucepan
Cast iron skillet
Wire rack
Parchment paper
Plastic wrap
Biscuit cutters, donut cutter, or donut sized cups for cutting the donuts
Before You Start
Feed your sourdough starter about 12 hours before you plan to mix the dough so it’s active and bubbly. If you don’t already have a starter, I have a step-by-step video on how to make one HERE. It’s just flour and water and takes about 7 to 10 days before it’s active and ready to use.
Let eggs come to room temperature.
Make space in the fridge for the overnight rest.
Ingredients
Donuts
1¼ cups milk
½ cup sugar
¼ cup butter
4 cups all purpose flour
2 eggs
1 cup active sourdough starter
1 tsp salt
Beef tallow for frying
Sprinkles, optional for topping
Glaze
¼ cup butter
2 cups powdered sugar
2 tsp vanilla extract
2 to 3 tbsp milk
Instructions
Warm the milk, sugar, and butter together in a saucepan over low heat until the butter melts and the sugar dissolves. Remove from heat and let cool until just warm to the touch.
Transfer the milk mixture to the bowl of a stand mixer fitted with a dough hook. Add 2 cups of the flour and mix briefly. This helps cool the mixture before adding the starter.
Add the sourdough starter, eggs, remaining flour, and salt. Mix on low speed until a dough forms.
Continue kneading on low for 8 to 10 minutes until the dough becomes smooth and elastic and begins pulling away from the sides of the bowl. If the dough feels sticky or isn’t coming together, stop the mixer, cover the bowl, and let the dough rest for 15 minutes. Start mixing again. This rest allows the flour to fully hydrate and usually fixes stickiness without adding more flour.
Cover the bowl tightly with plastic wrap or a damp tea towel so the dough doesn’t dry out. Place it in a warm spot to rise for 5 to 6 hours, until noticeably puffy. If your kitchen is cold, set the covered bowl in the oven with the oven turned off and the oven light on.
Once risen, transfer the dough to the refrigerator and let it rest overnight.
The next morning, roll the dough out on a lightly floured surface to about ½ inch thick. Cut into donut shapes. I use these, but a wide mouth jar, biscuit cutter, or any circular glass works well. Use a bottle cap or small lid for the center holes.
Place the donuts on a baking sheet, cover loosely with a damp tea towel or plastic wrap, and let rise for 1½ to 2 hours until slightly puffy. If your kitchen is cold, place the baking sheet in the oven with the oven turned off and the oven light on to create a warm spot for rising.
Frying
Add about ½ inch of beef tallow to a cast iron skillet. This is usually 1½ to 2 cups of melted tallow in a standard 10 to 12 inch skillet.
Heat the tallow over medium heat until it reaches 350°F. If you don’t have a thermometer, the tallow is ready when a small piece of dough sizzles immediately and rises to the surface without browning too quickly.
Fry the donuts in batches for 2 to 3 minutes per side, flipping once, until golden and puffed. Do not overcrowd the pan.
Transfer donuts to a wire rack set over parchment paper and let cool slightly before glazing.
Make the Glaze
Line a wire rack with parchment paper underneath to catch any drips. Let the donuts cool on the rack for 1 to 2 minutes after frying so the glaze sticks without sliding off.
In a saucepan, combine:
¼ cup butter
2 cups powdered sugar
2 teaspoons vanilla extract
2 to 3 tablespoons milk
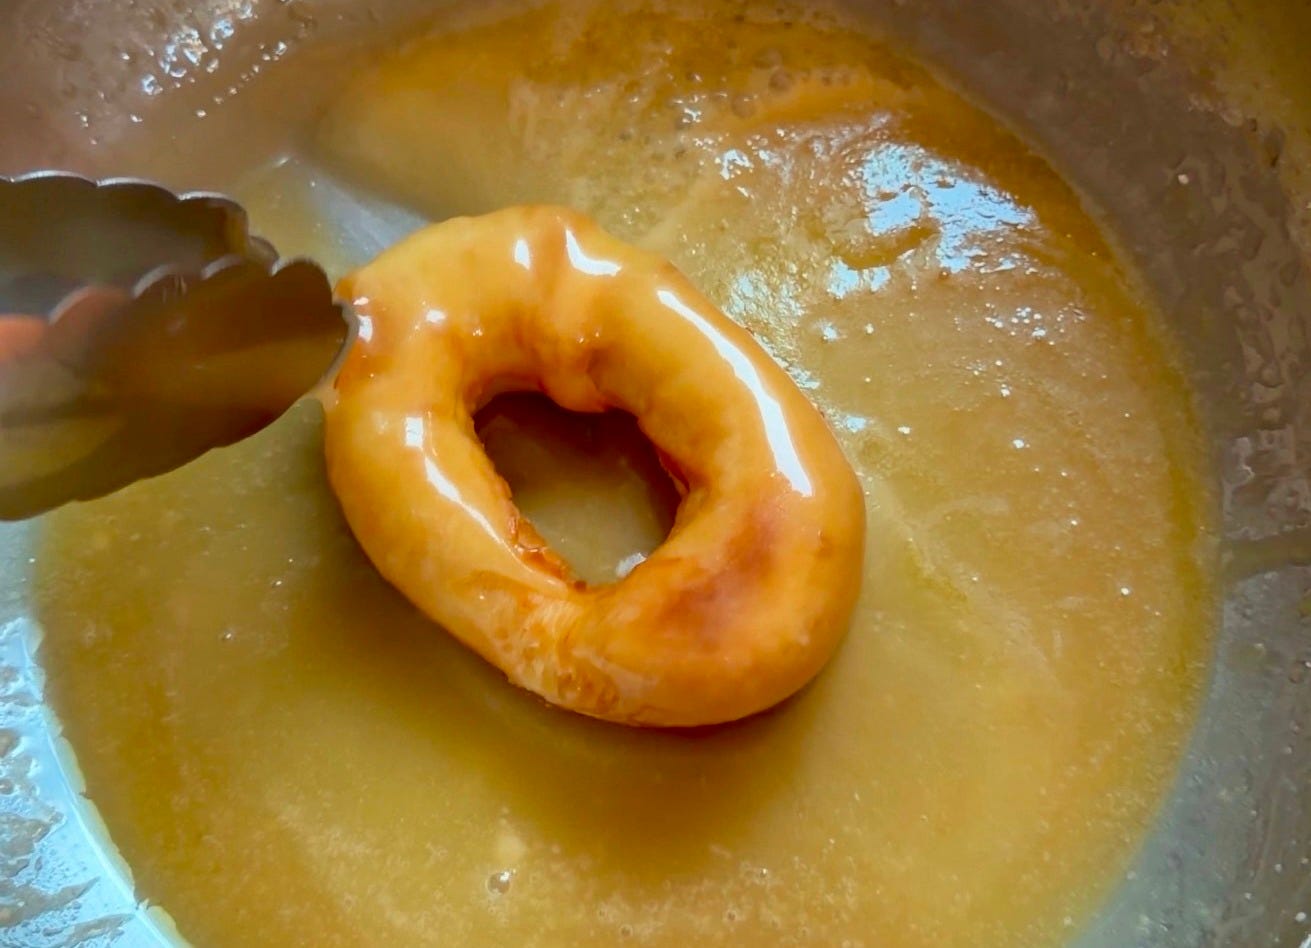
Heat over low, stirring gently, until the butter is melted and the glaze is smooth and glossy.
Turn off the heat. Dip the warm donuts into the glaze, then return them to the wire rack to set. If using sprinkles or other toppings, add them immediately after glazing while the donuts are still wet so they stick.
Cooking Schedule (When to Start Based on When You Want to Eat Them)
Because sourdough takes time, it helps to work backward.
Example: You Want Them ready for Saturday Morning
Thursday Night
Feed your sourdough starter and let it ferment overnight.
Friday Morning
Mix and knead the dough.
Friday Morning to Afternoon
Cover the bowl tightly with plastic wrap and let the dough rise for 5 to 6 hours in a warm spot. If your kitchen is cold, use the oven with the oven turned off and the light on.
Friday Evening
Transfer the dough to the refrigerator to rest overnight.
Saturday Morning
2½ hours before you plan to serve them: roll, cut, and shape the donuts.
Let rise for 1½ to 2 hours.
Fry, glaze, and serve warm.
Tips for First-Time Donut Makers:
If the dough feels sticky after 10 minutes on the stand mixer, let it rest before adding more flour.
Do not skip the overnight fridge rest. It improves both flavor and texture.
Keep frying heat steady around 350°F so the donuts cook evenly.
Fry in small batches to avoid greasy donuts.
Let donuts drain briefly on a wire rack before glazing so the glaze sets nicely.
These are best eaten the same day.
Reusing the Tallow
Let the tallow cool slightly, then strain through a fine mesh strainer or cheesecloth to remove crumbs. Store in a sealed jar in the fridge and reuse for future frying.